
Cake decorating tools buying guide
WHAT TO LOOK FOR WHEN BUYING CAKE DECORATING TOOLS
Start with spatulas and spreading tools to achieve smooth, sleek, icing bases. They come in many different sizes and are usually quite flexible to make spreading and contouring easier.
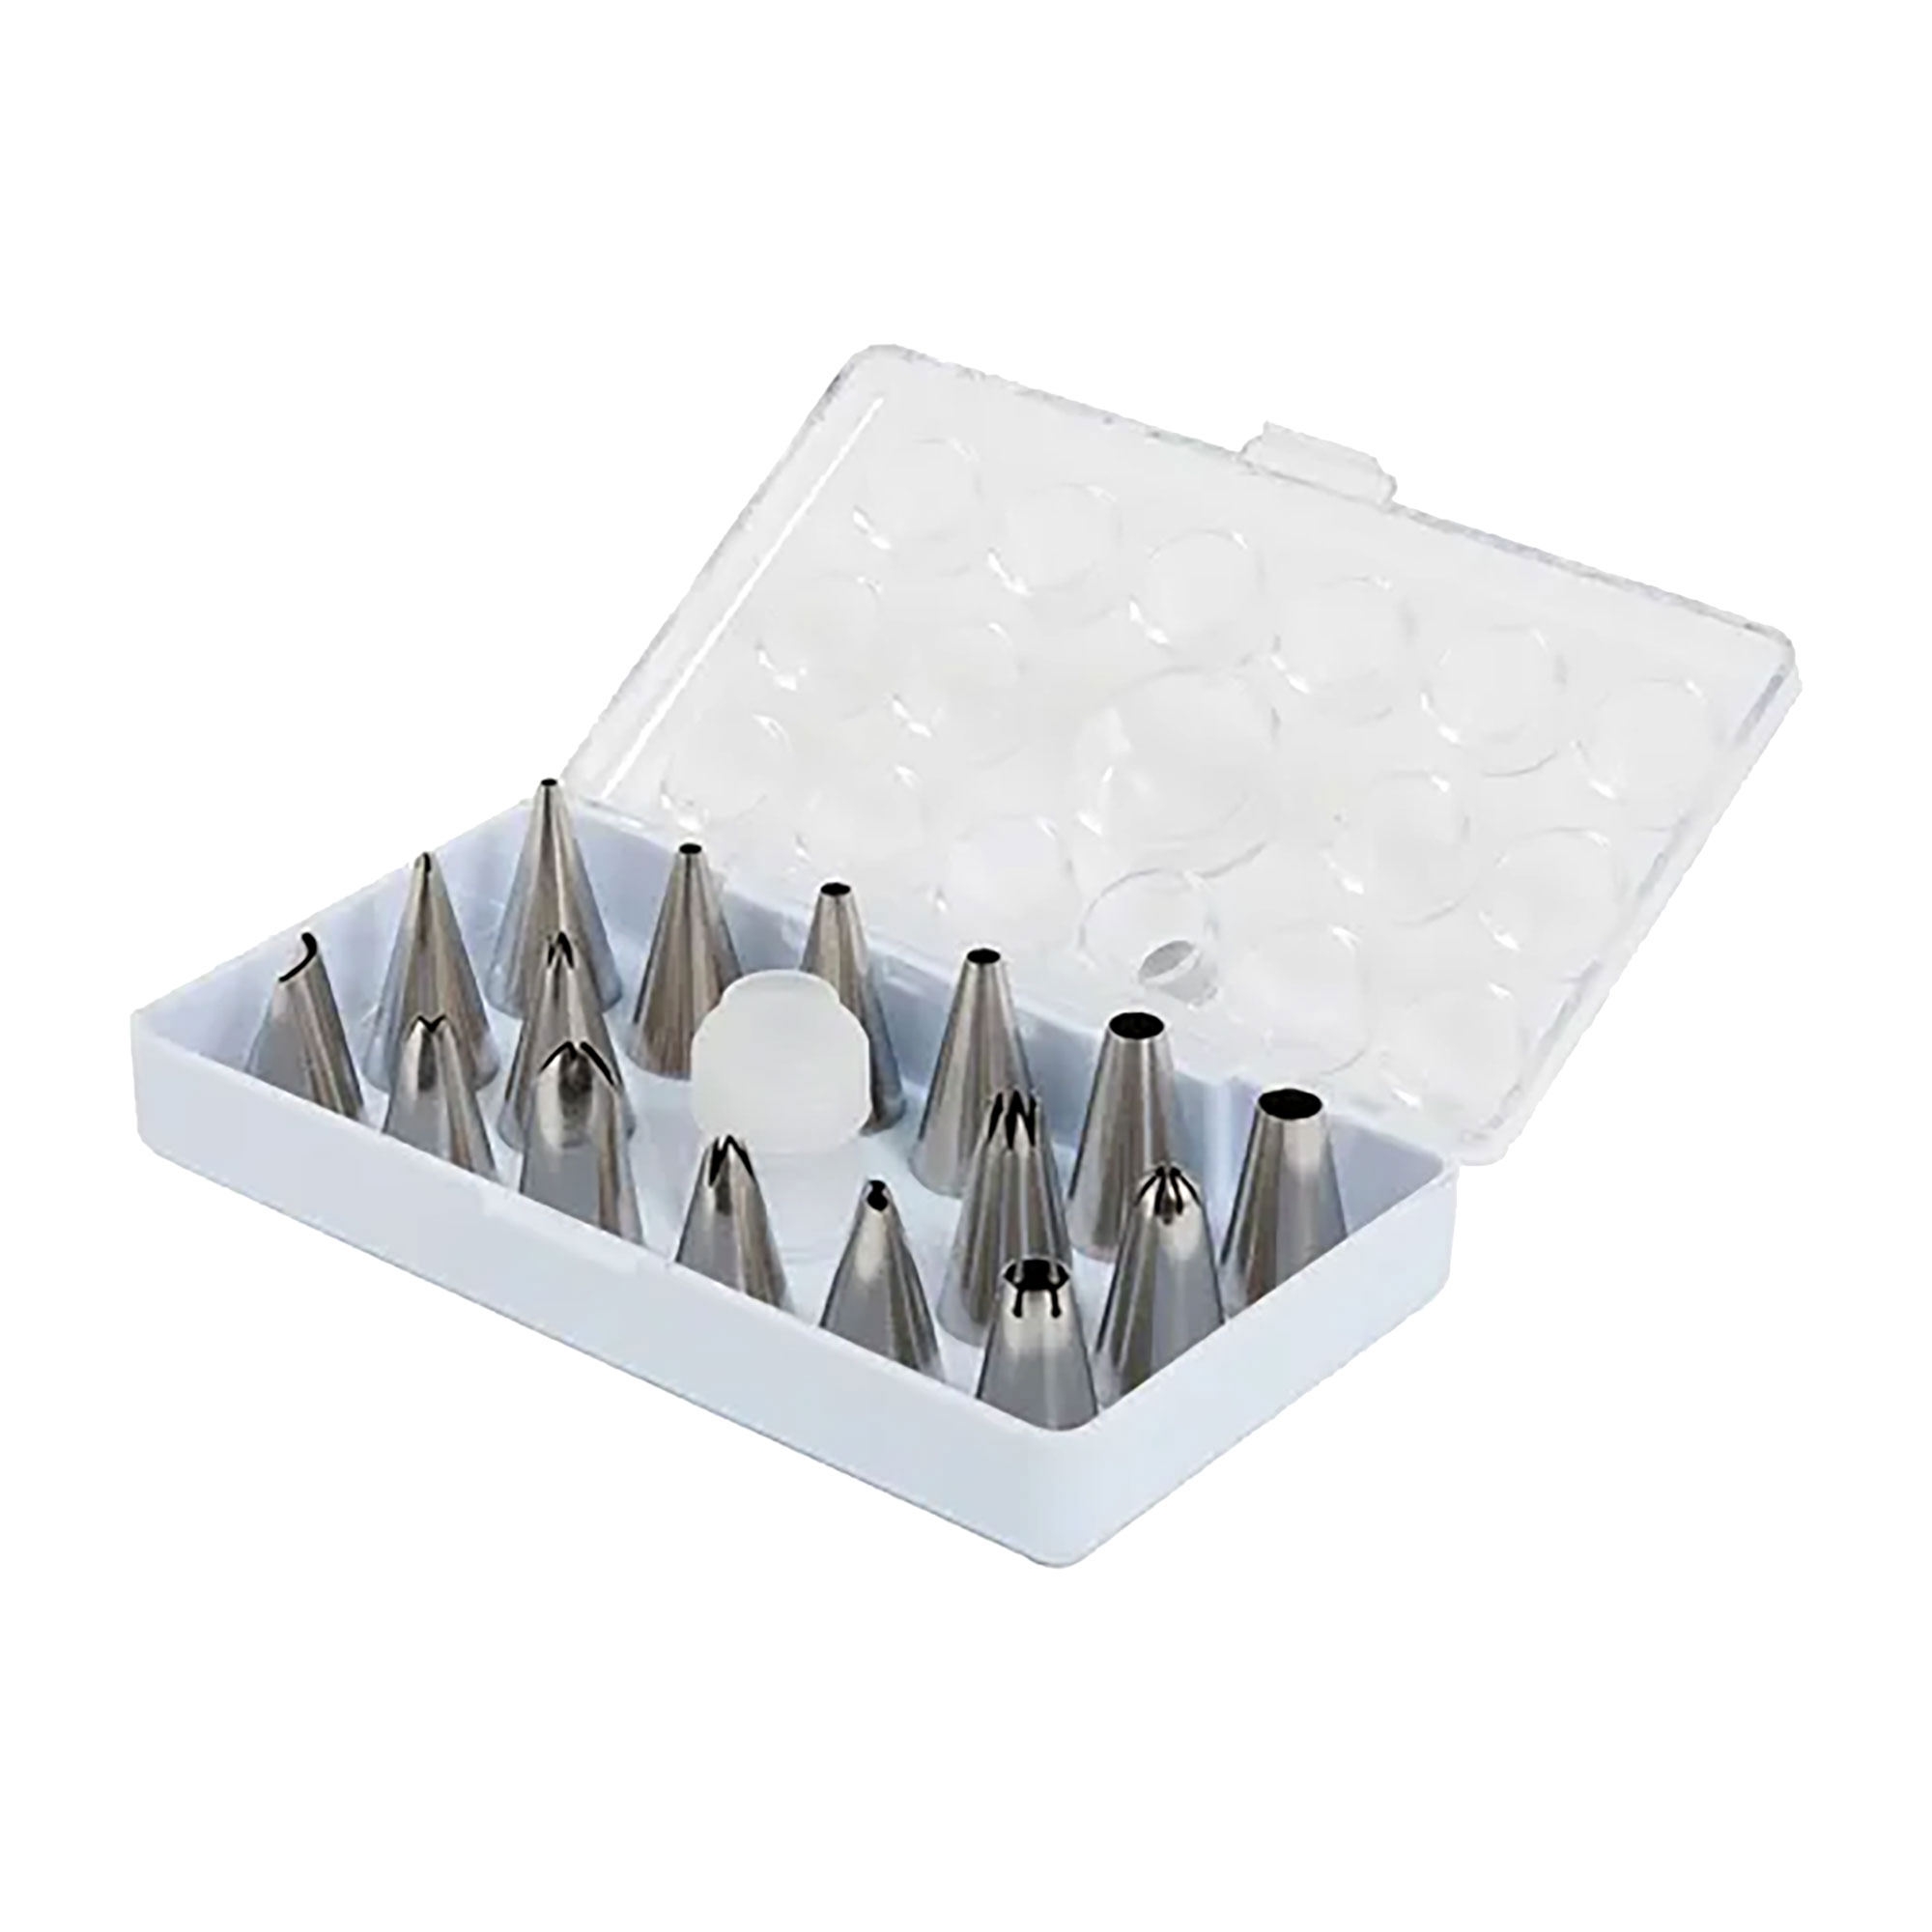
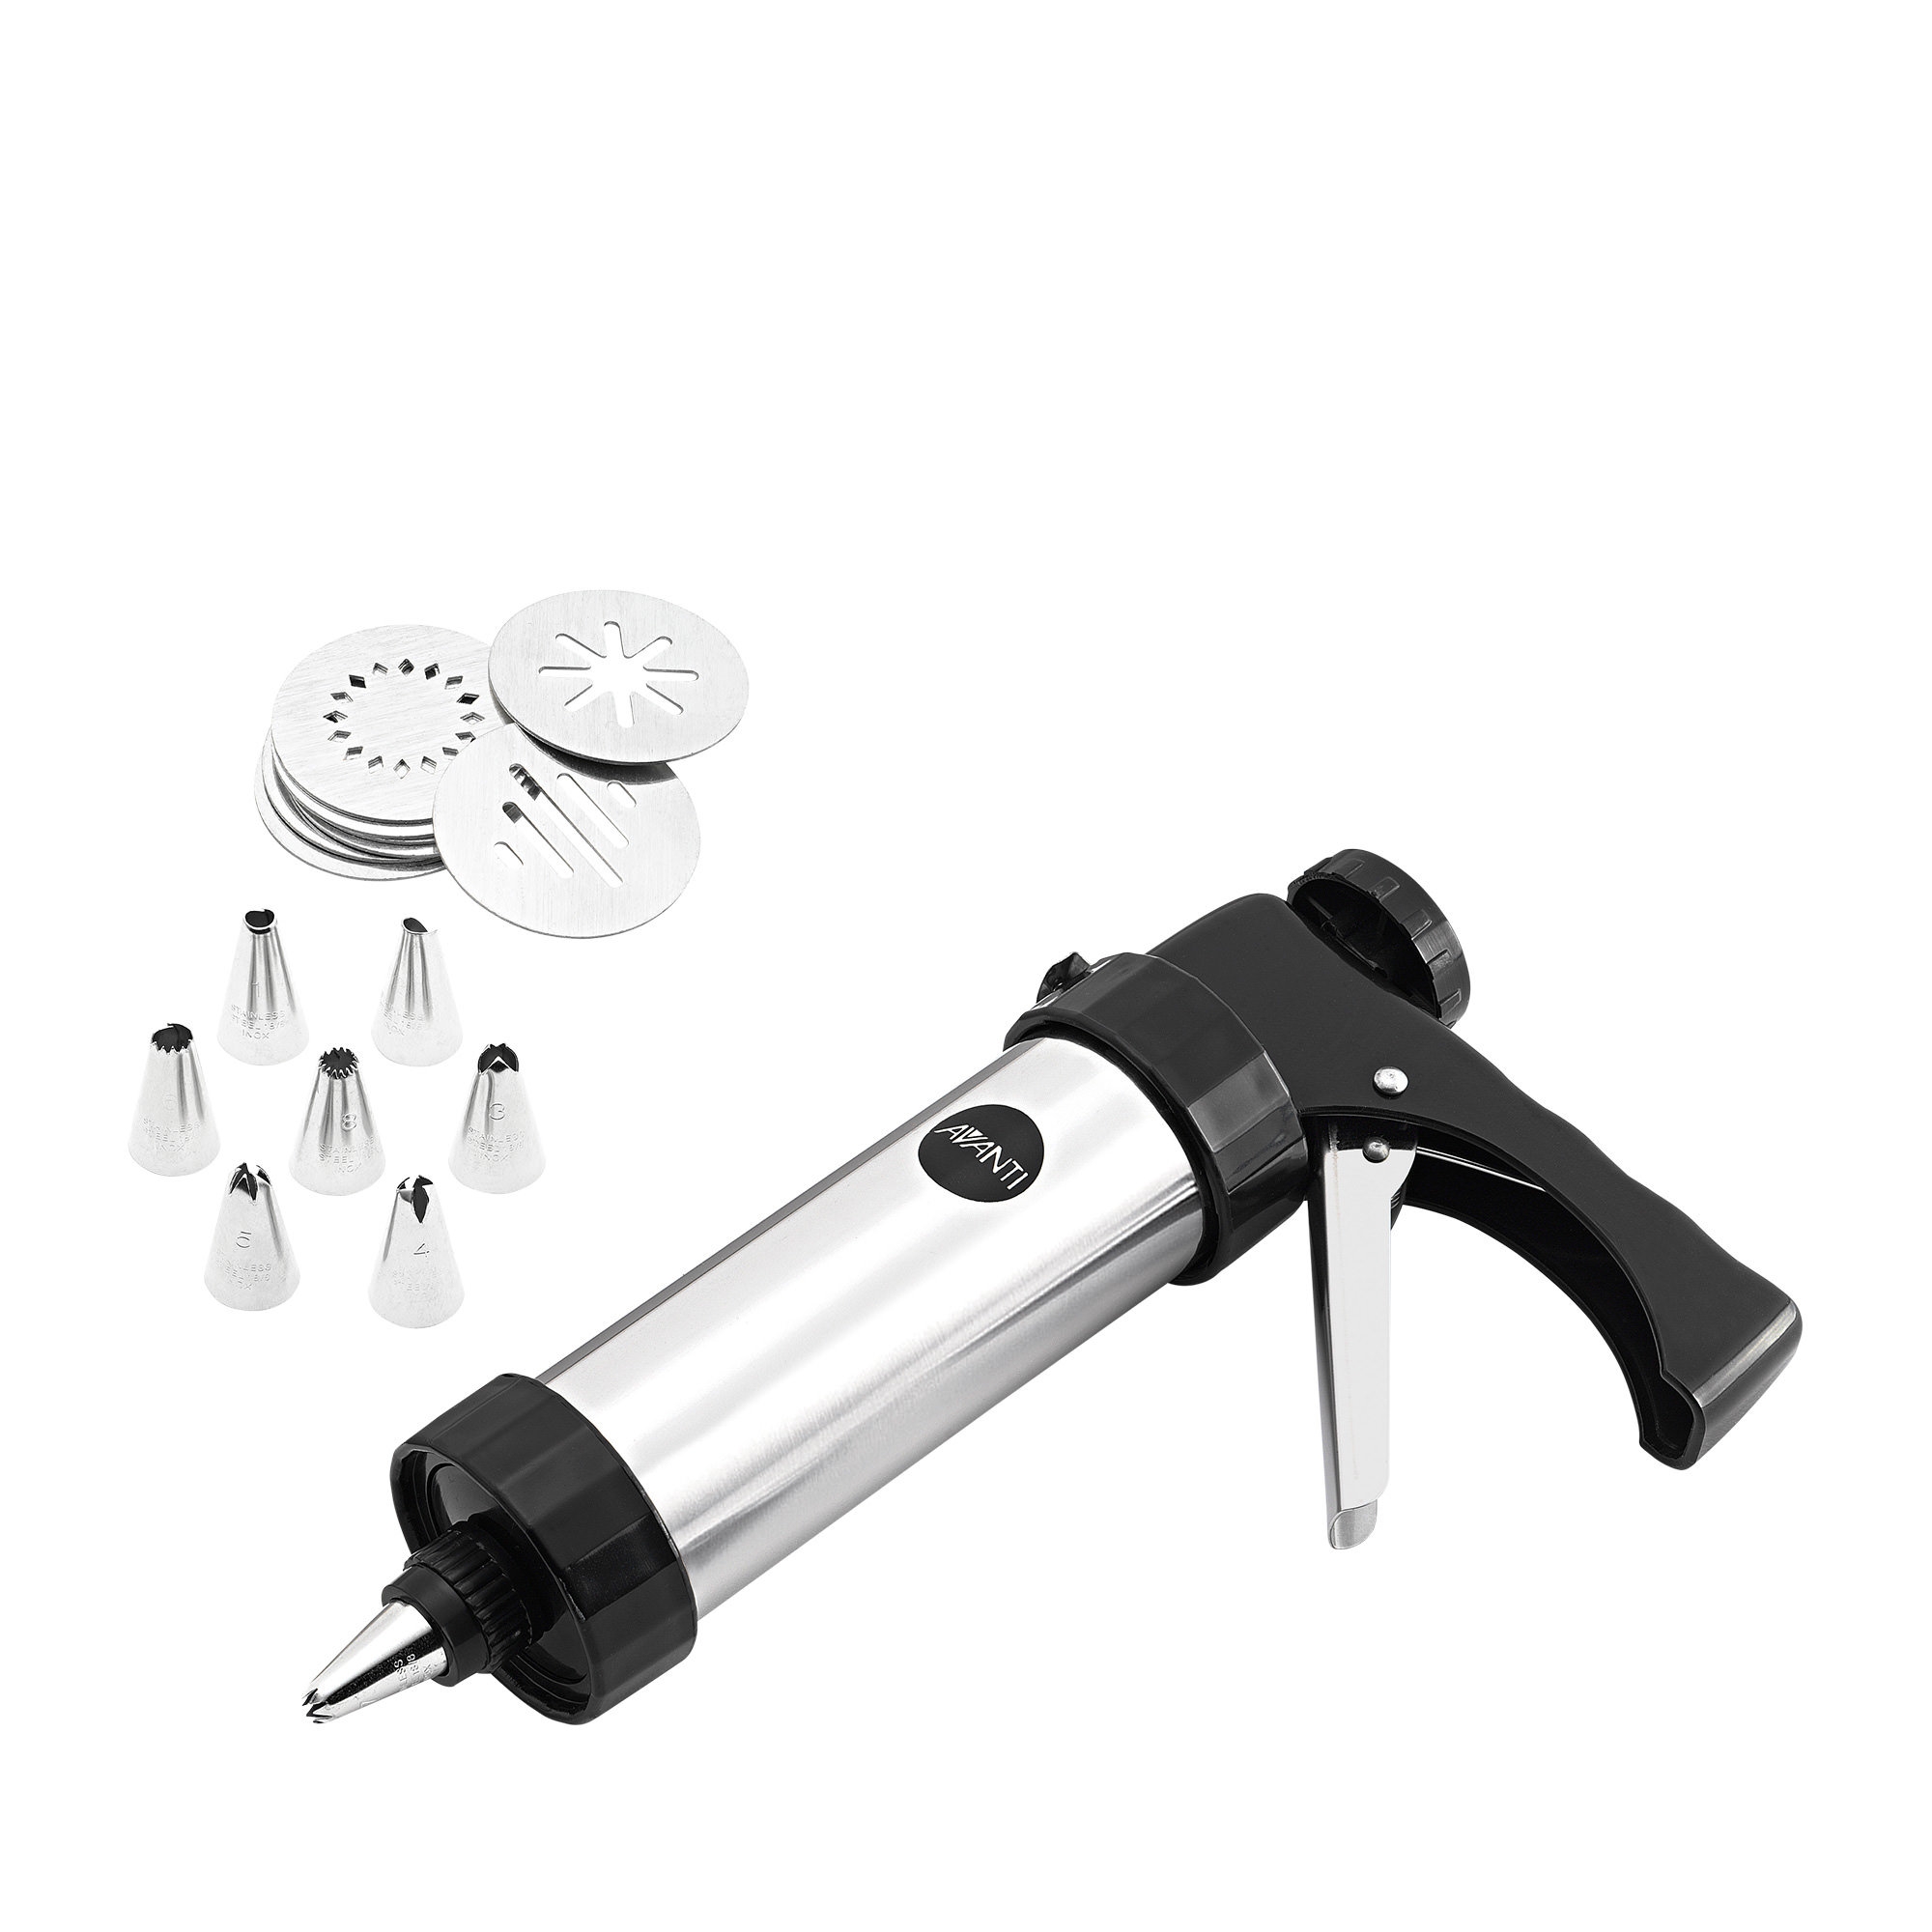
Invest in an array of decorating tips. There are many different types available in an array of different sizes and shapes to help create the effect and finish you're searching for. Decorating tips not only create versatile effects but their use is also very versatile. You can insert them into a piping bag, use with a coupler or pipe to write messages and create leaves, flowers and ruffles etc.
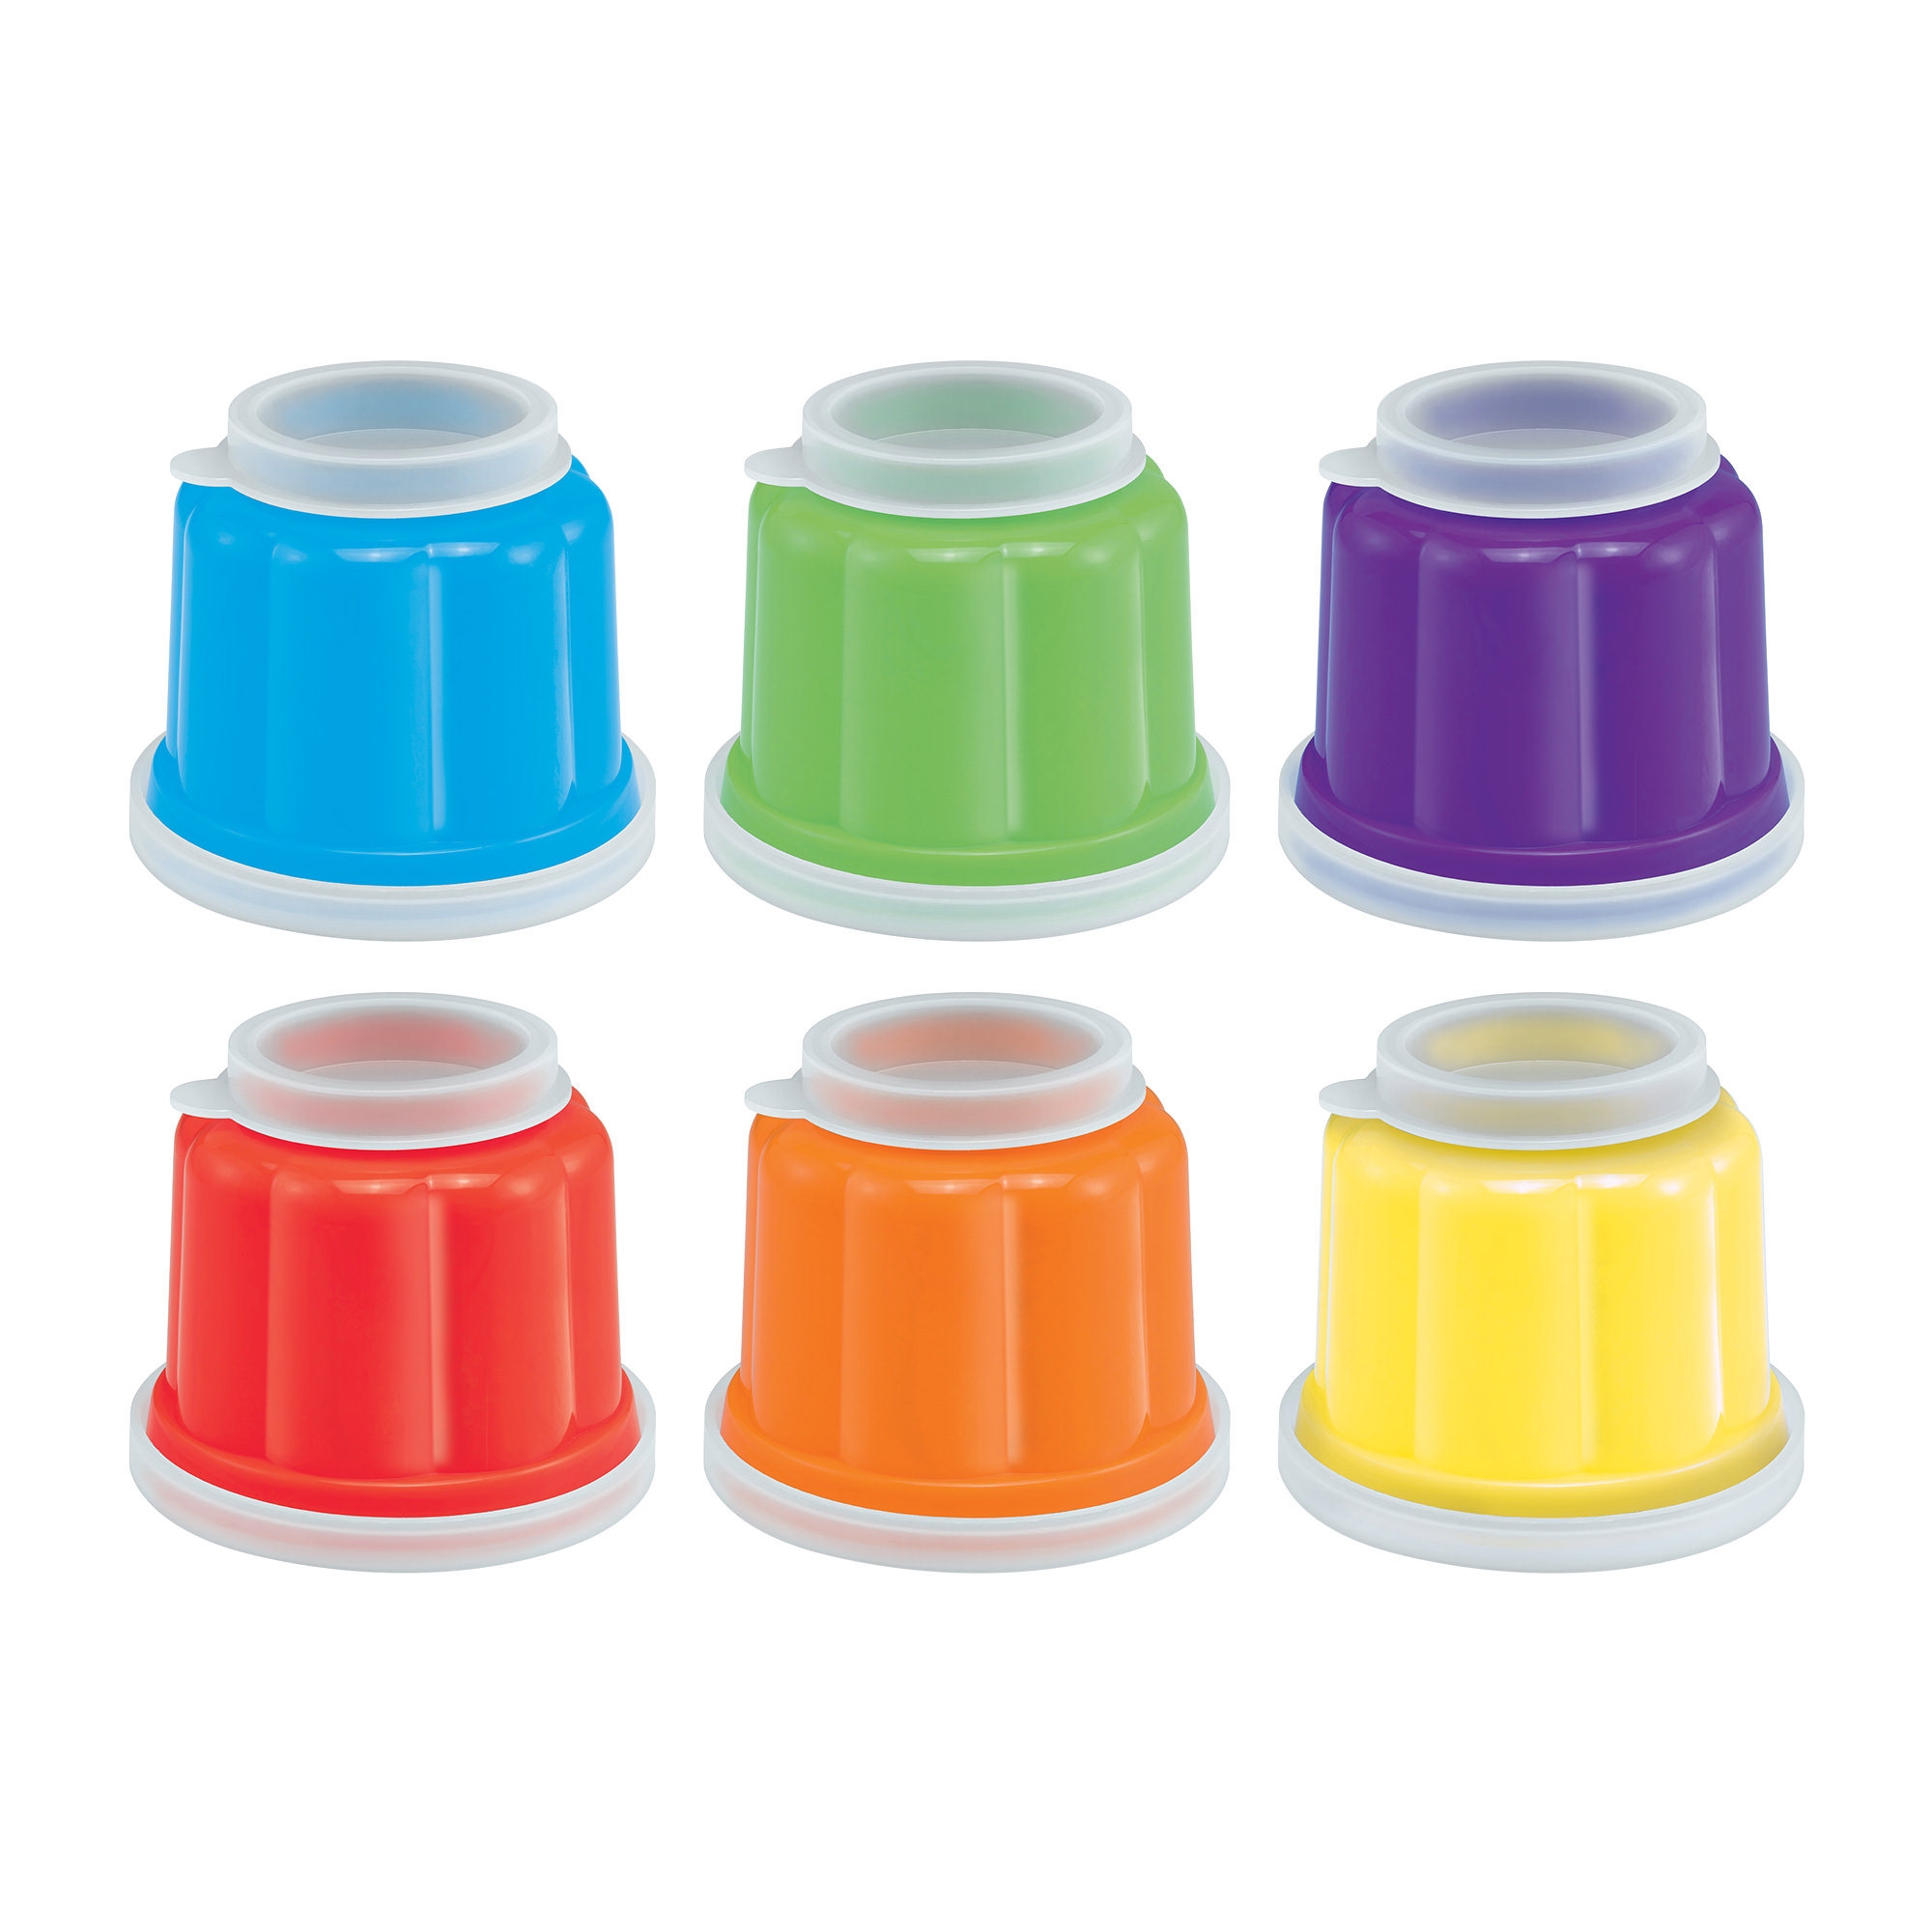
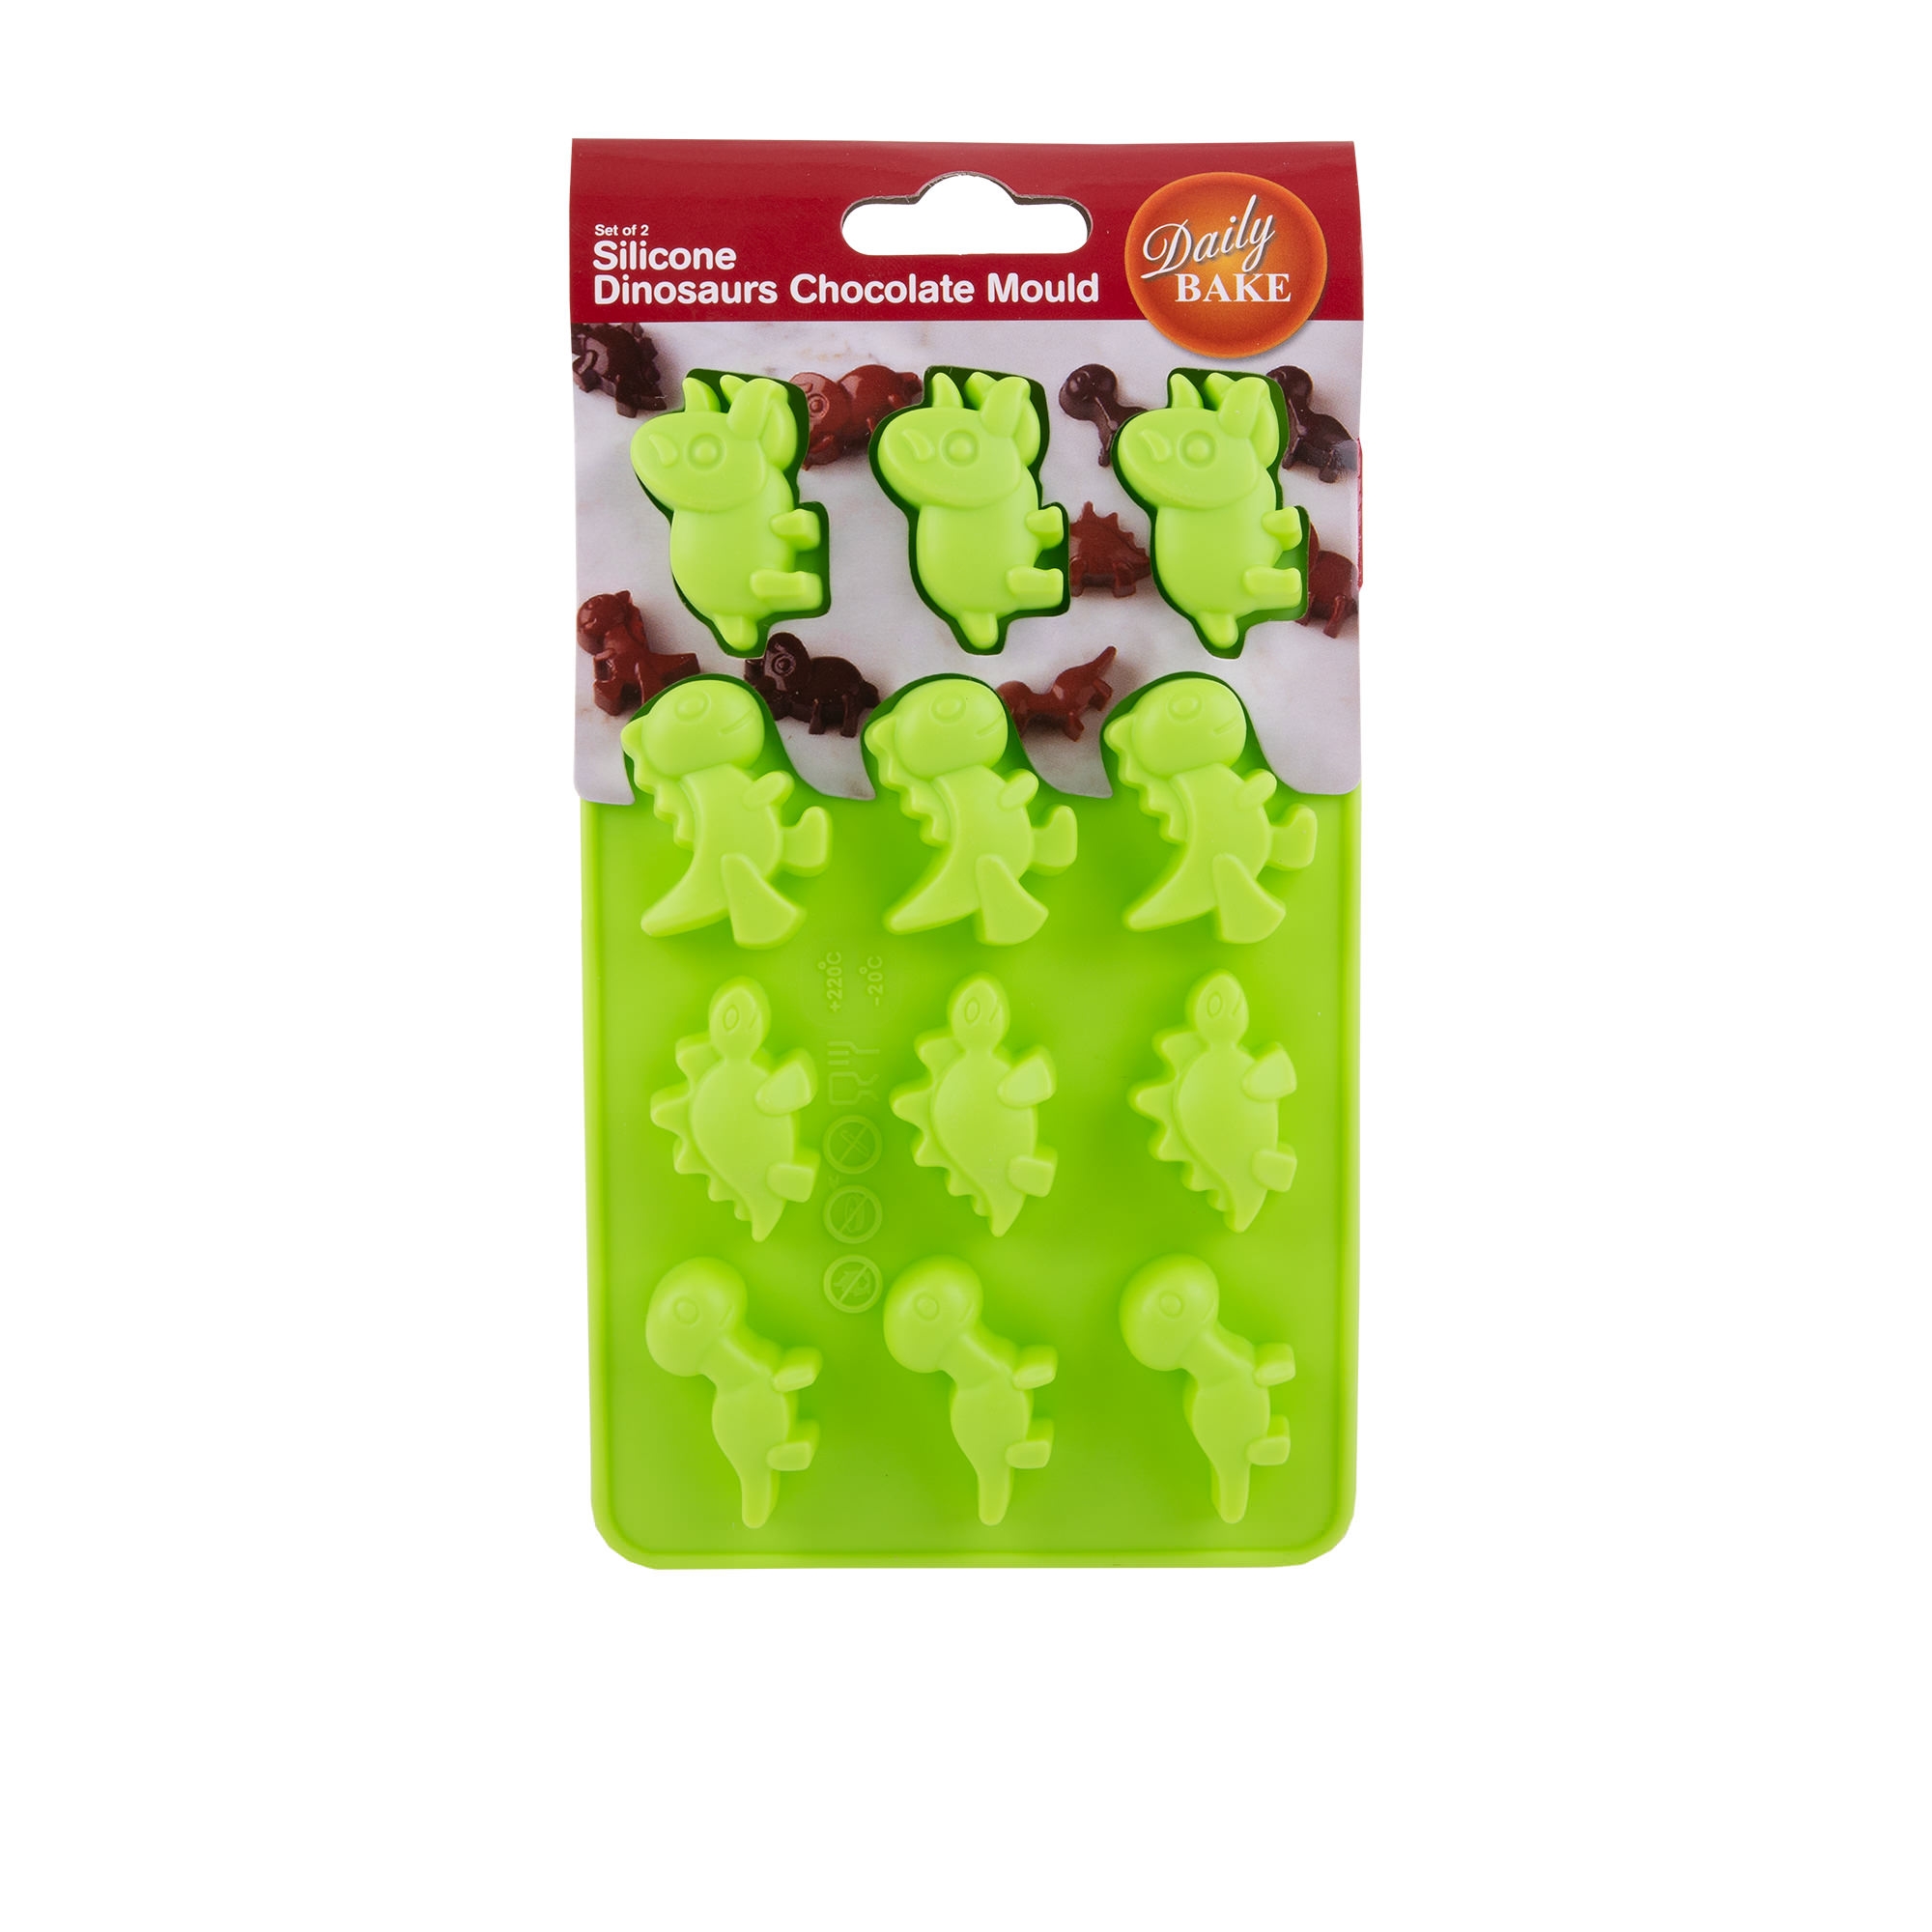
Use fondants and gel pastes when exacting your creative vision. The edible 'tools' can bring texture, colour and form to your cakes. Fondant can be rolled, cut and imprinted with designs, gel pastes can be very effective when colouring dough, whipped toppings, icing and fondant.
Icing bags and icing bag ties make life easier when multitasking. Icing bag holders allow you to transition easily between different coloured icings giving the bag you’re not using a convenient resting place, while icing bag ties stops your icing from leaking out the top of the bag and keeps contents moist by preventing air from infiltrating the contents and drying them out.
INTRODUCTION TO CAKE DECORATING
When it comes to baking, decorating your cakes is often the most exciting part, but it can also be the most daunting if it's your first foray into the world of cake decorating. What to use, how to use and when to use are all questions likely to arise when you’re getting started. For the true novices, a trusty spatula and icing bag are great places to start, while for the more medium-to-advanced cake decorators, you can have a lot of fun creating beautifully finished treats using more advanced tools like an airbrush system. The fun in cake decorating lays in the practise it takes to perfect it! So invest in some great tools, take some chances and get creative with your sweet treats!
HOW TO ICE A CAKE
Every cake decorator should know how to ice a cake and learning how to do a good crumb coating is the best place to start. Crumb coating refers to sealing in the crumbs of the cake via the first coating of icing. This technique is one of the staples of cake decorating and essentially preps the canvas you'll work from. If you can perfect this basic technique it will really elevate the overall appeal of your cakes aesthetic.
To achieve the perfect crumb coat, make sure your cake has been well chilled and your icing is stiff enough that it holds firm when scooped out with a spatula. You should also have the following tools in your arsenal:
- A leveller or long serrated knife
- Offset spatula
- Scraper
- Turntable
- Cake board
The first thing to do is level your cake. All decorated cakes should ideally be levelled to avoid cracked cakes that won’t hold their shape. A cake leveller is a fantastic tool to use for this and ensures an even cut every time. A long serrated knife can also be used to level a cake, however it can be difficult to achieve the same level of precision a cake leveller will produce.
Once levelled, spread a thin layer of icing on the cake board to help the cake stick to it securely and place the bottom cake layer on top of it. Begin icing by placing a dollop in the middle and spread generously until icing is flat. Then add a second layer (and repeat if there is a third or fourth layer involved).
Once the cake is filled, use your spatula to smooth excess icing around the perimeter and over the top of the cake until completely covered. A turntable is good to use here, it allows you to turn and move the cake easily and without restriction so the cake is covered entirely. Then, use your scraper to wipe around the edged for a smooth finish making sure to take care around the edges.
After this initial “crumb coat” you can then continue to add extra layers until the final product achieves your desired consistency and look.
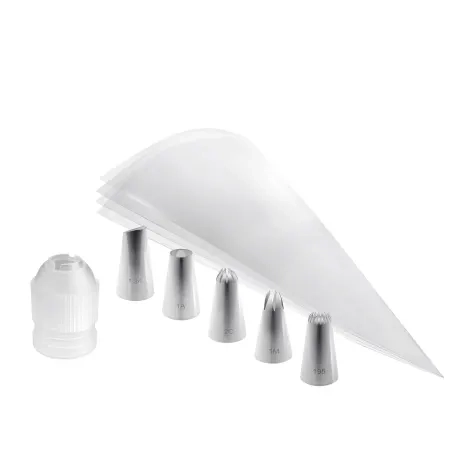
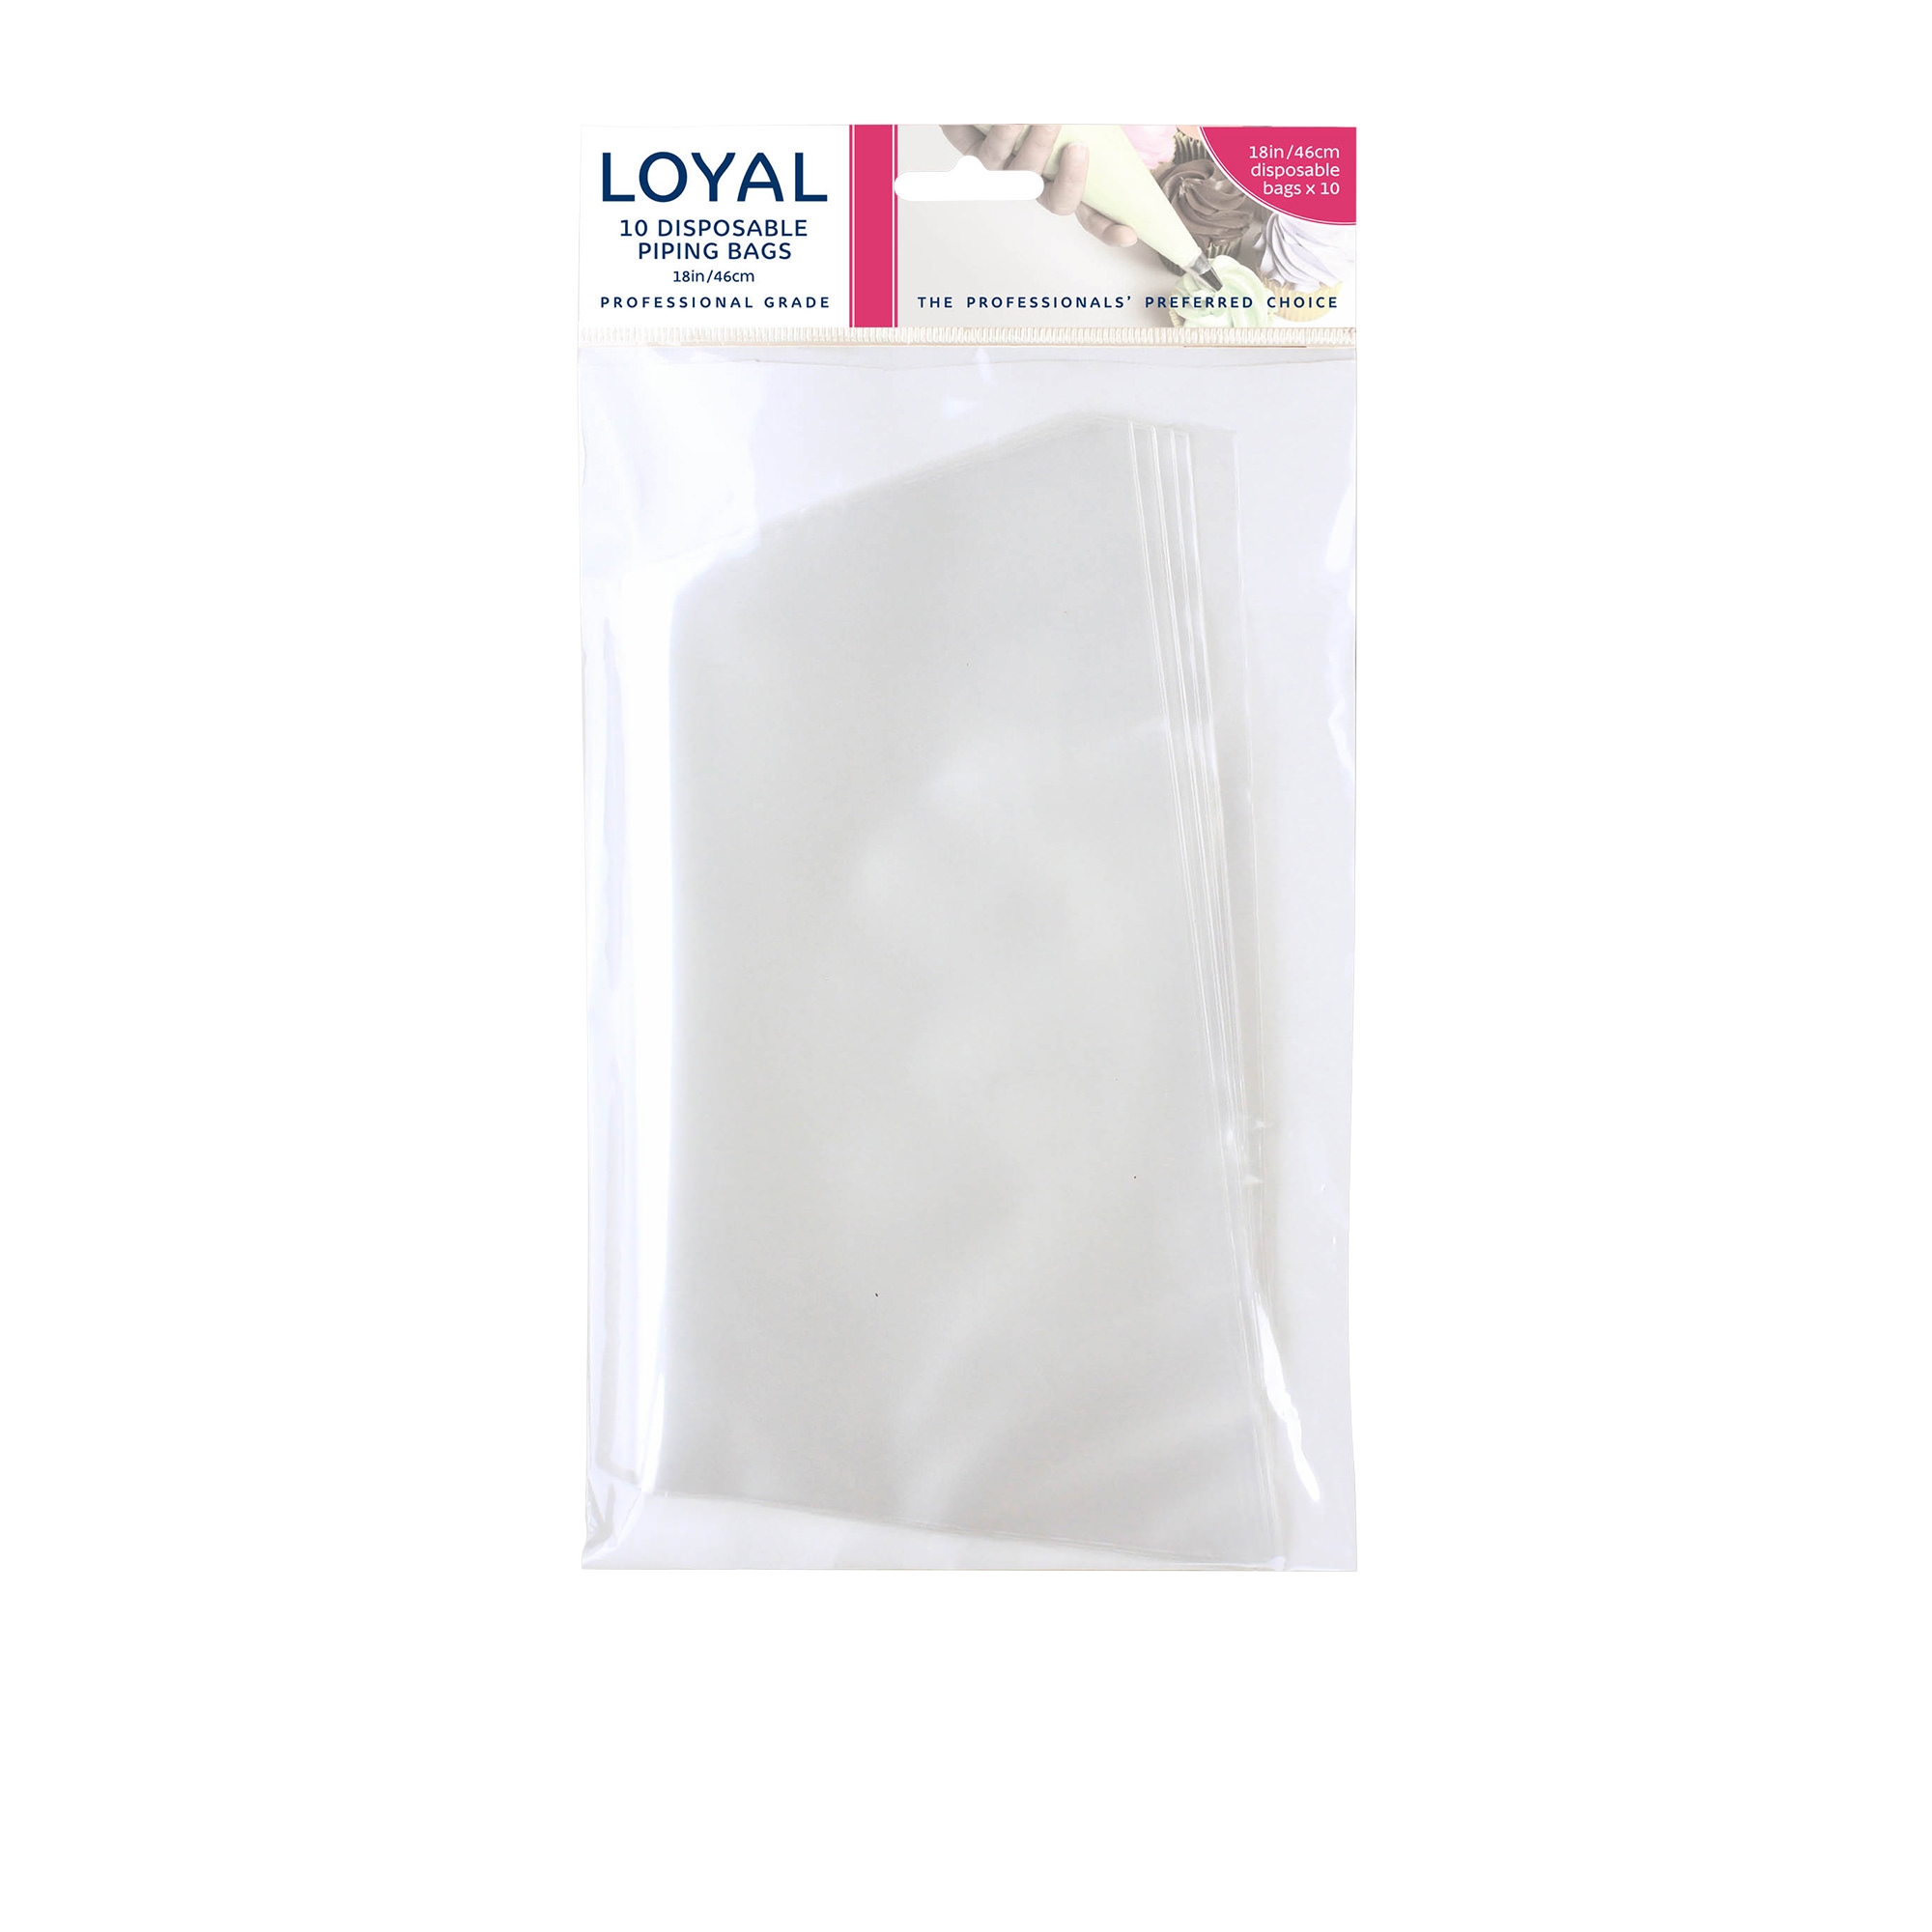
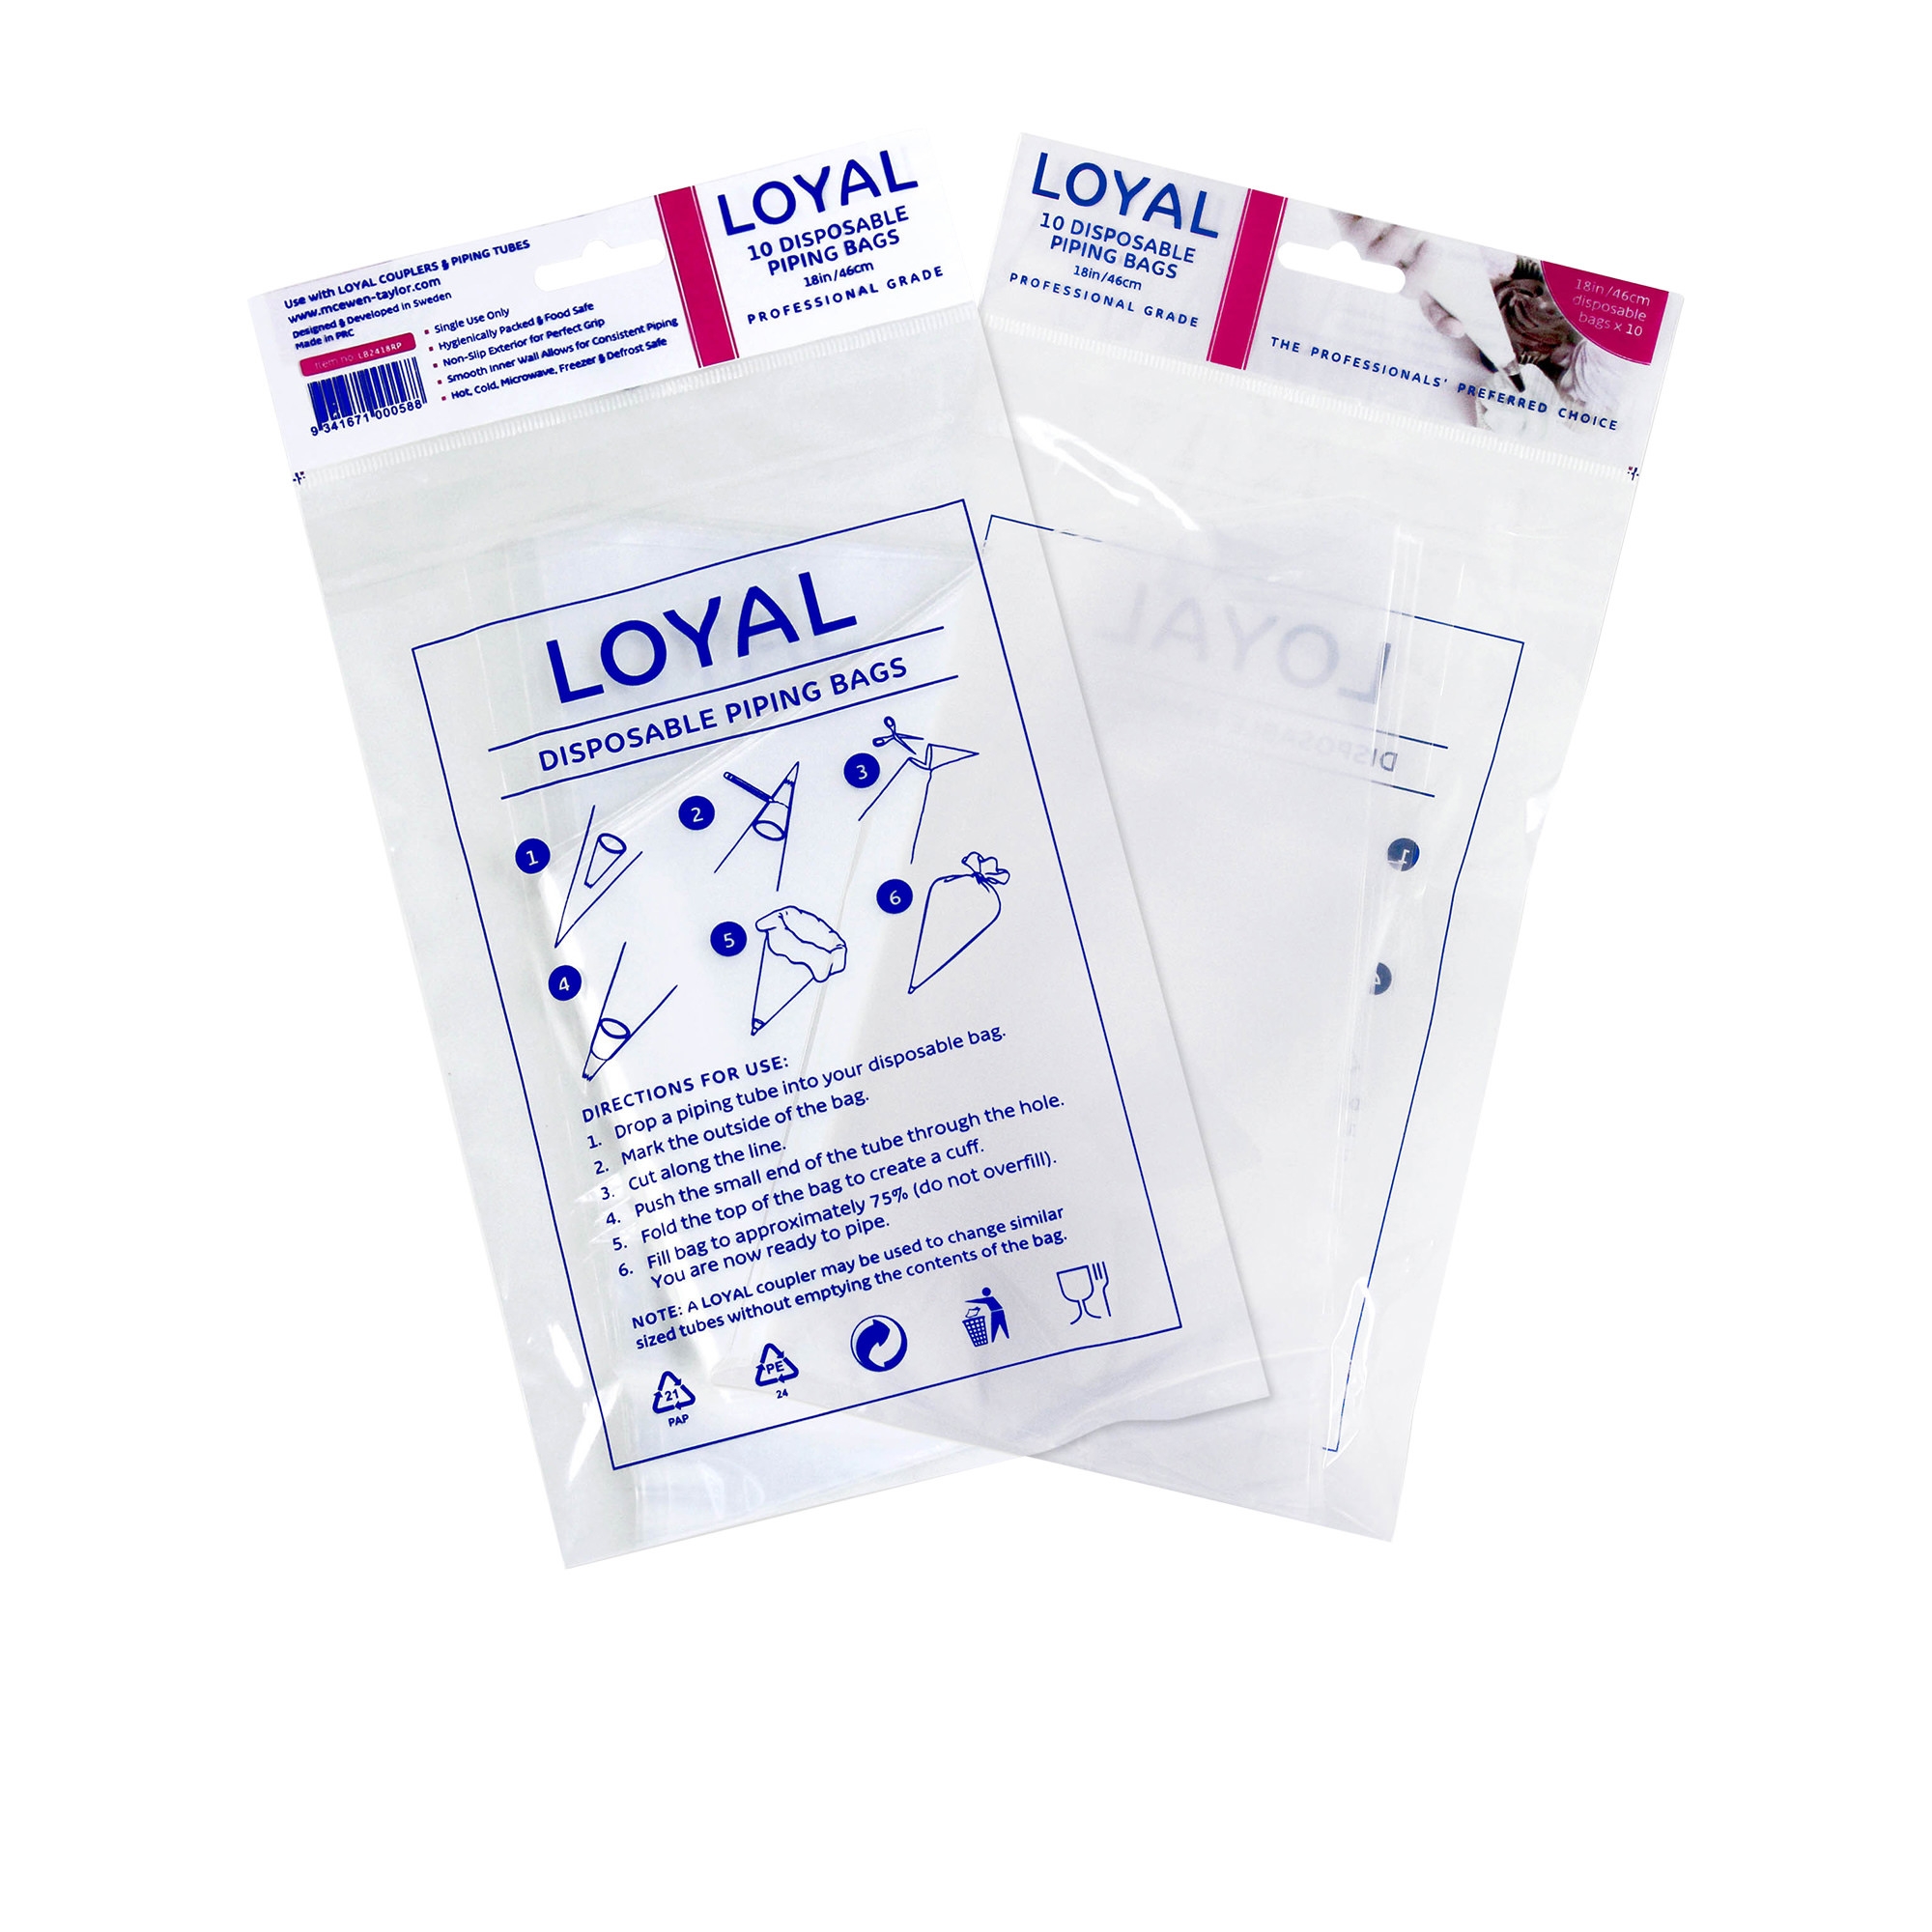
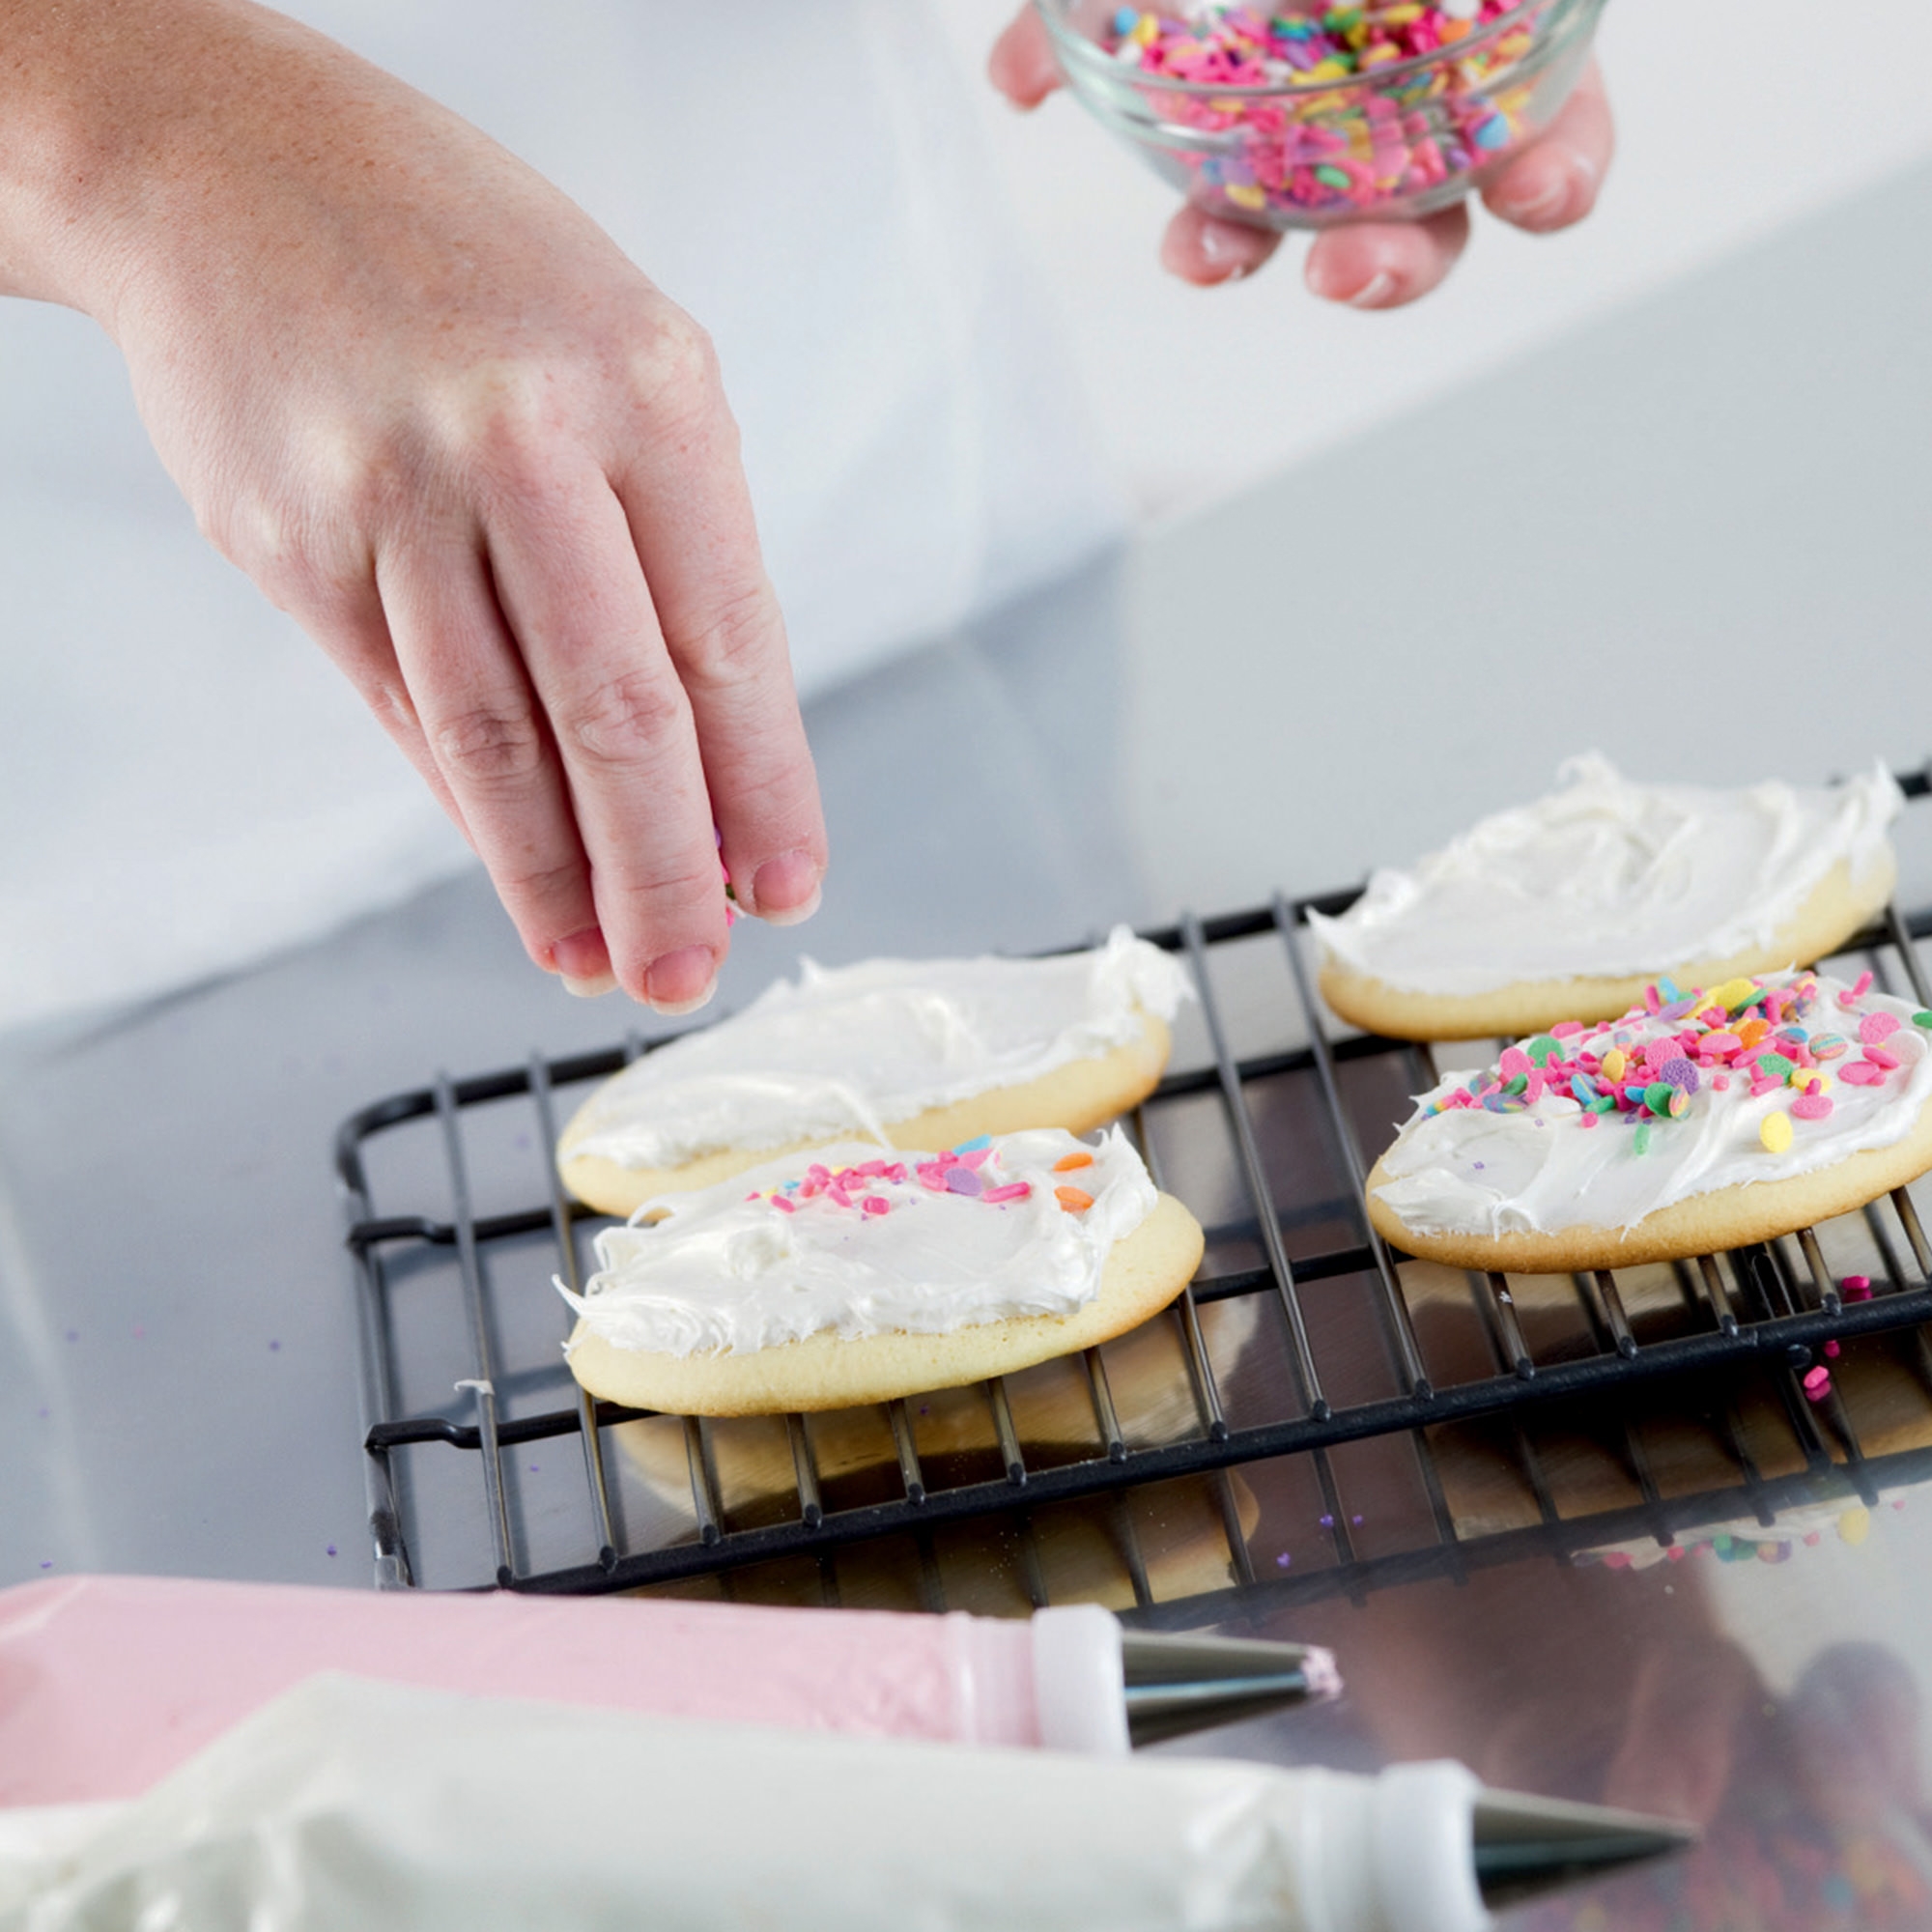
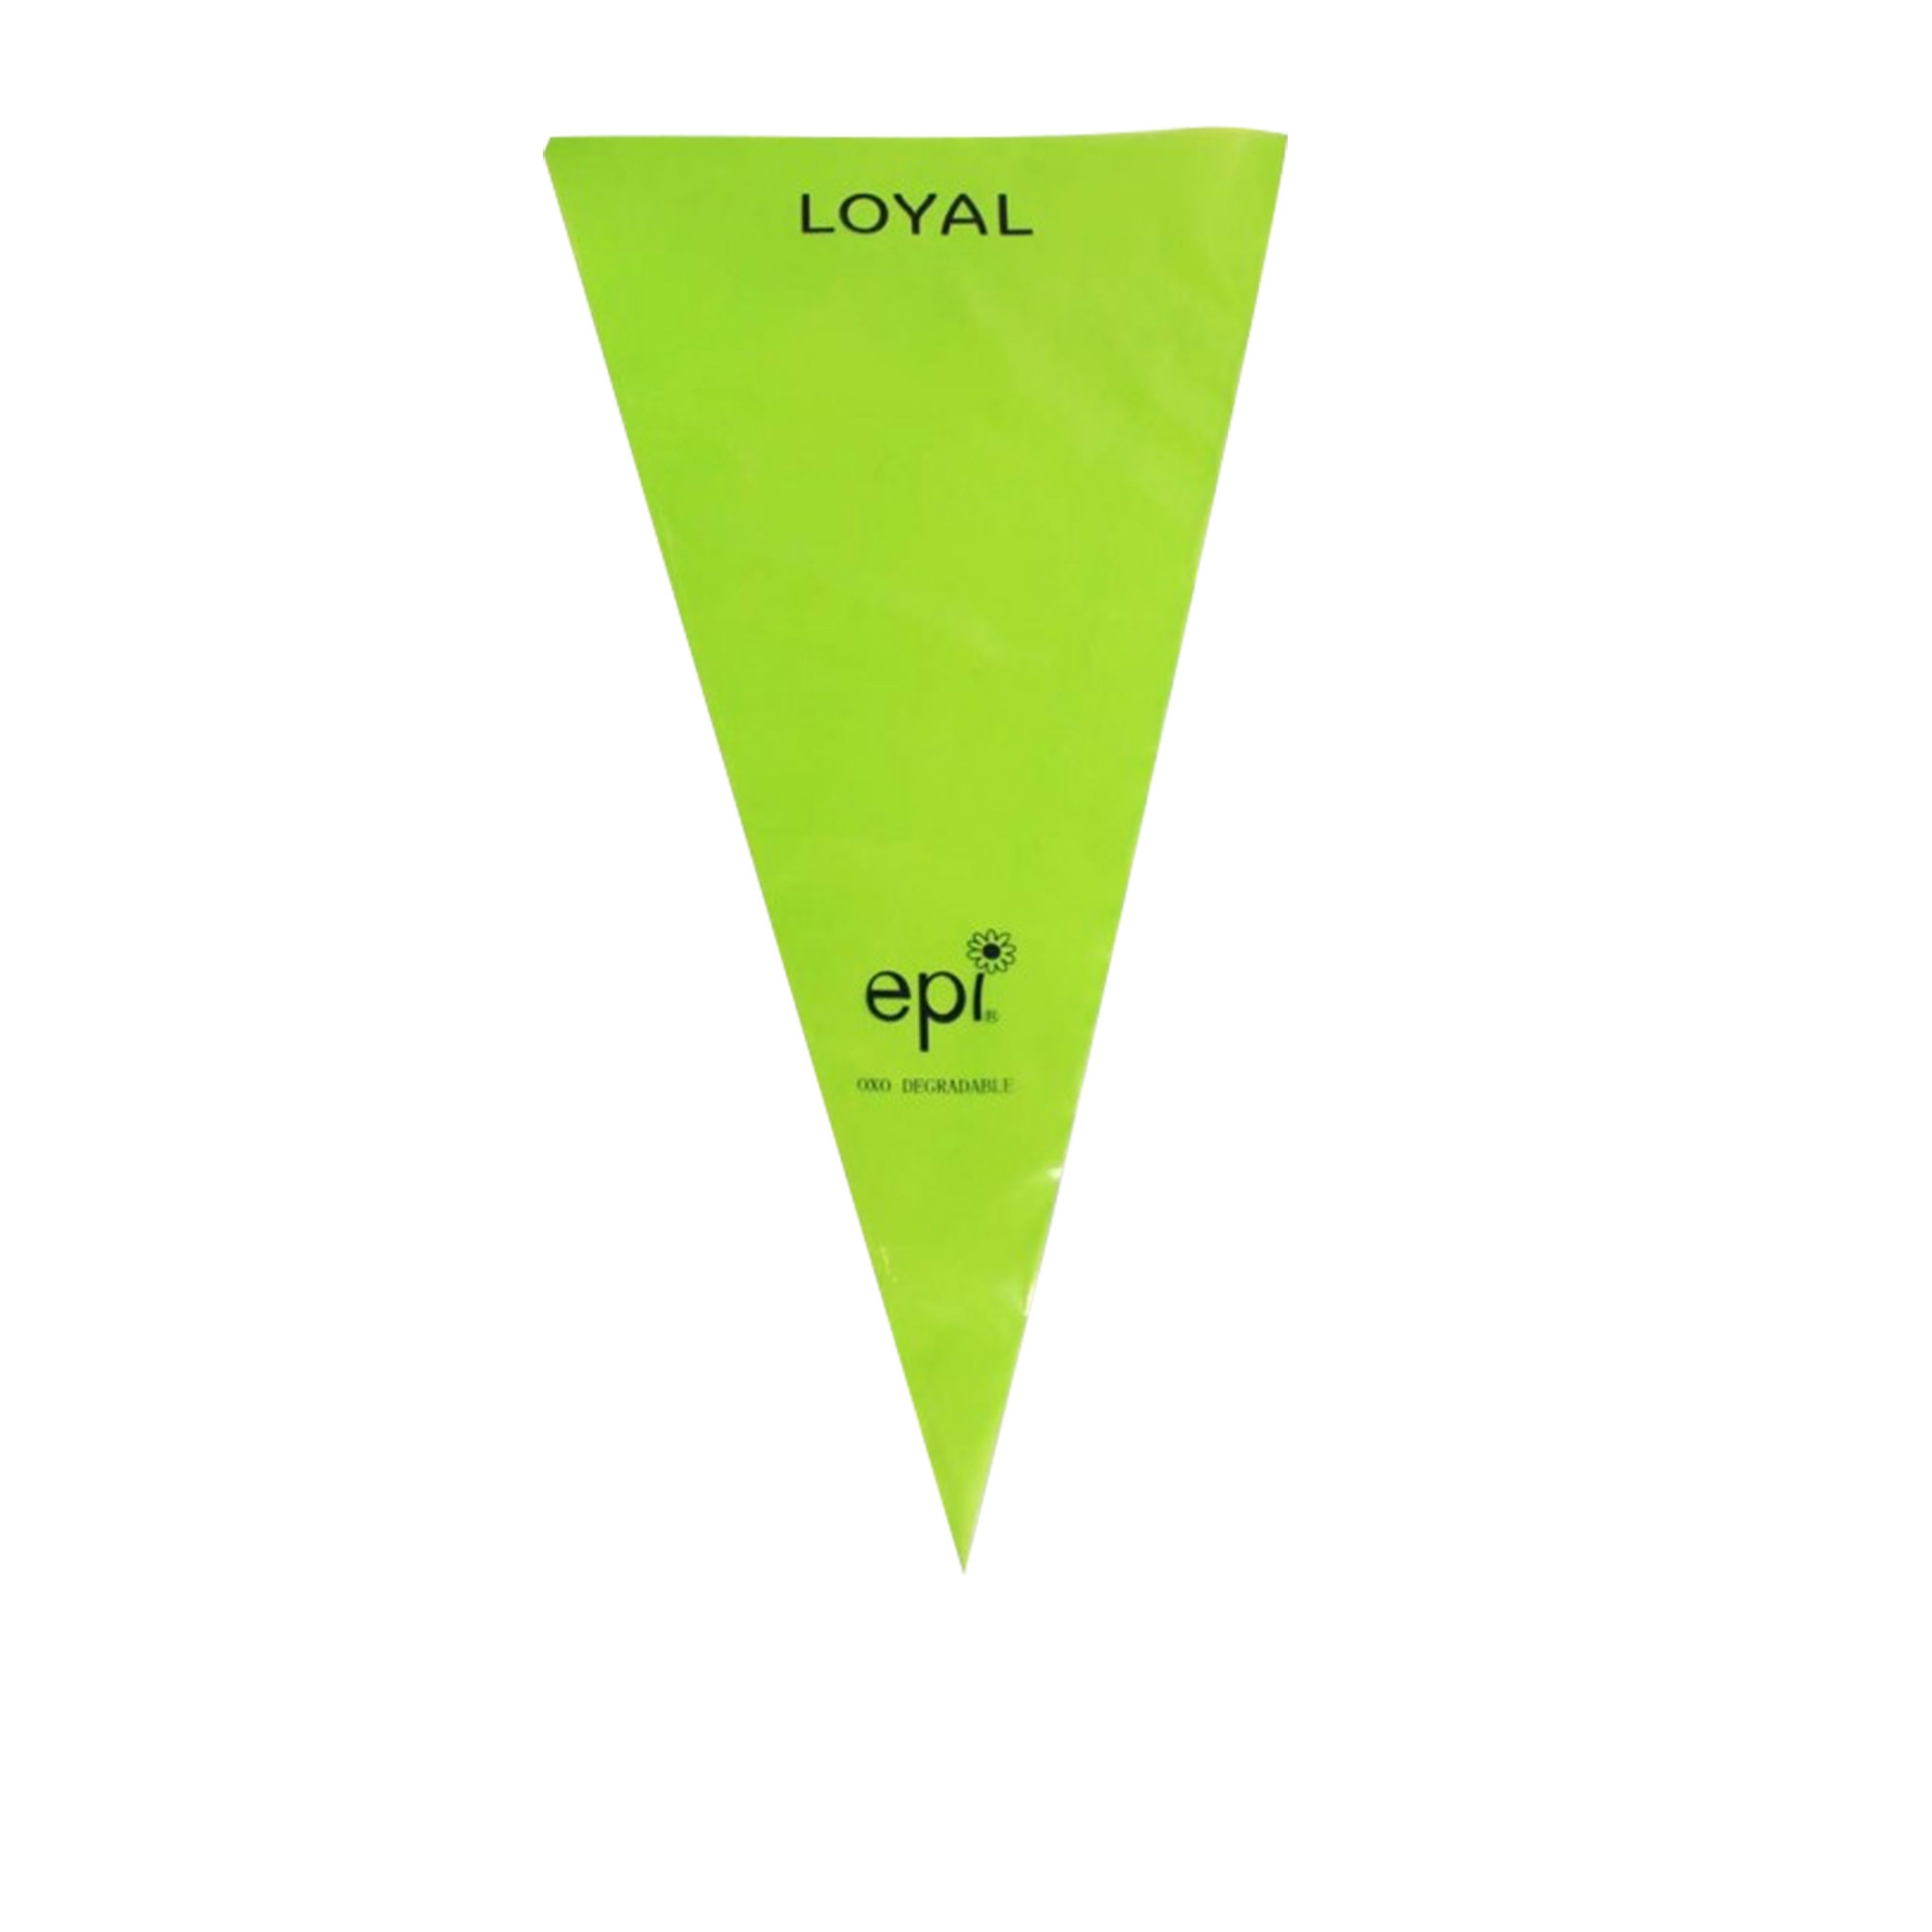
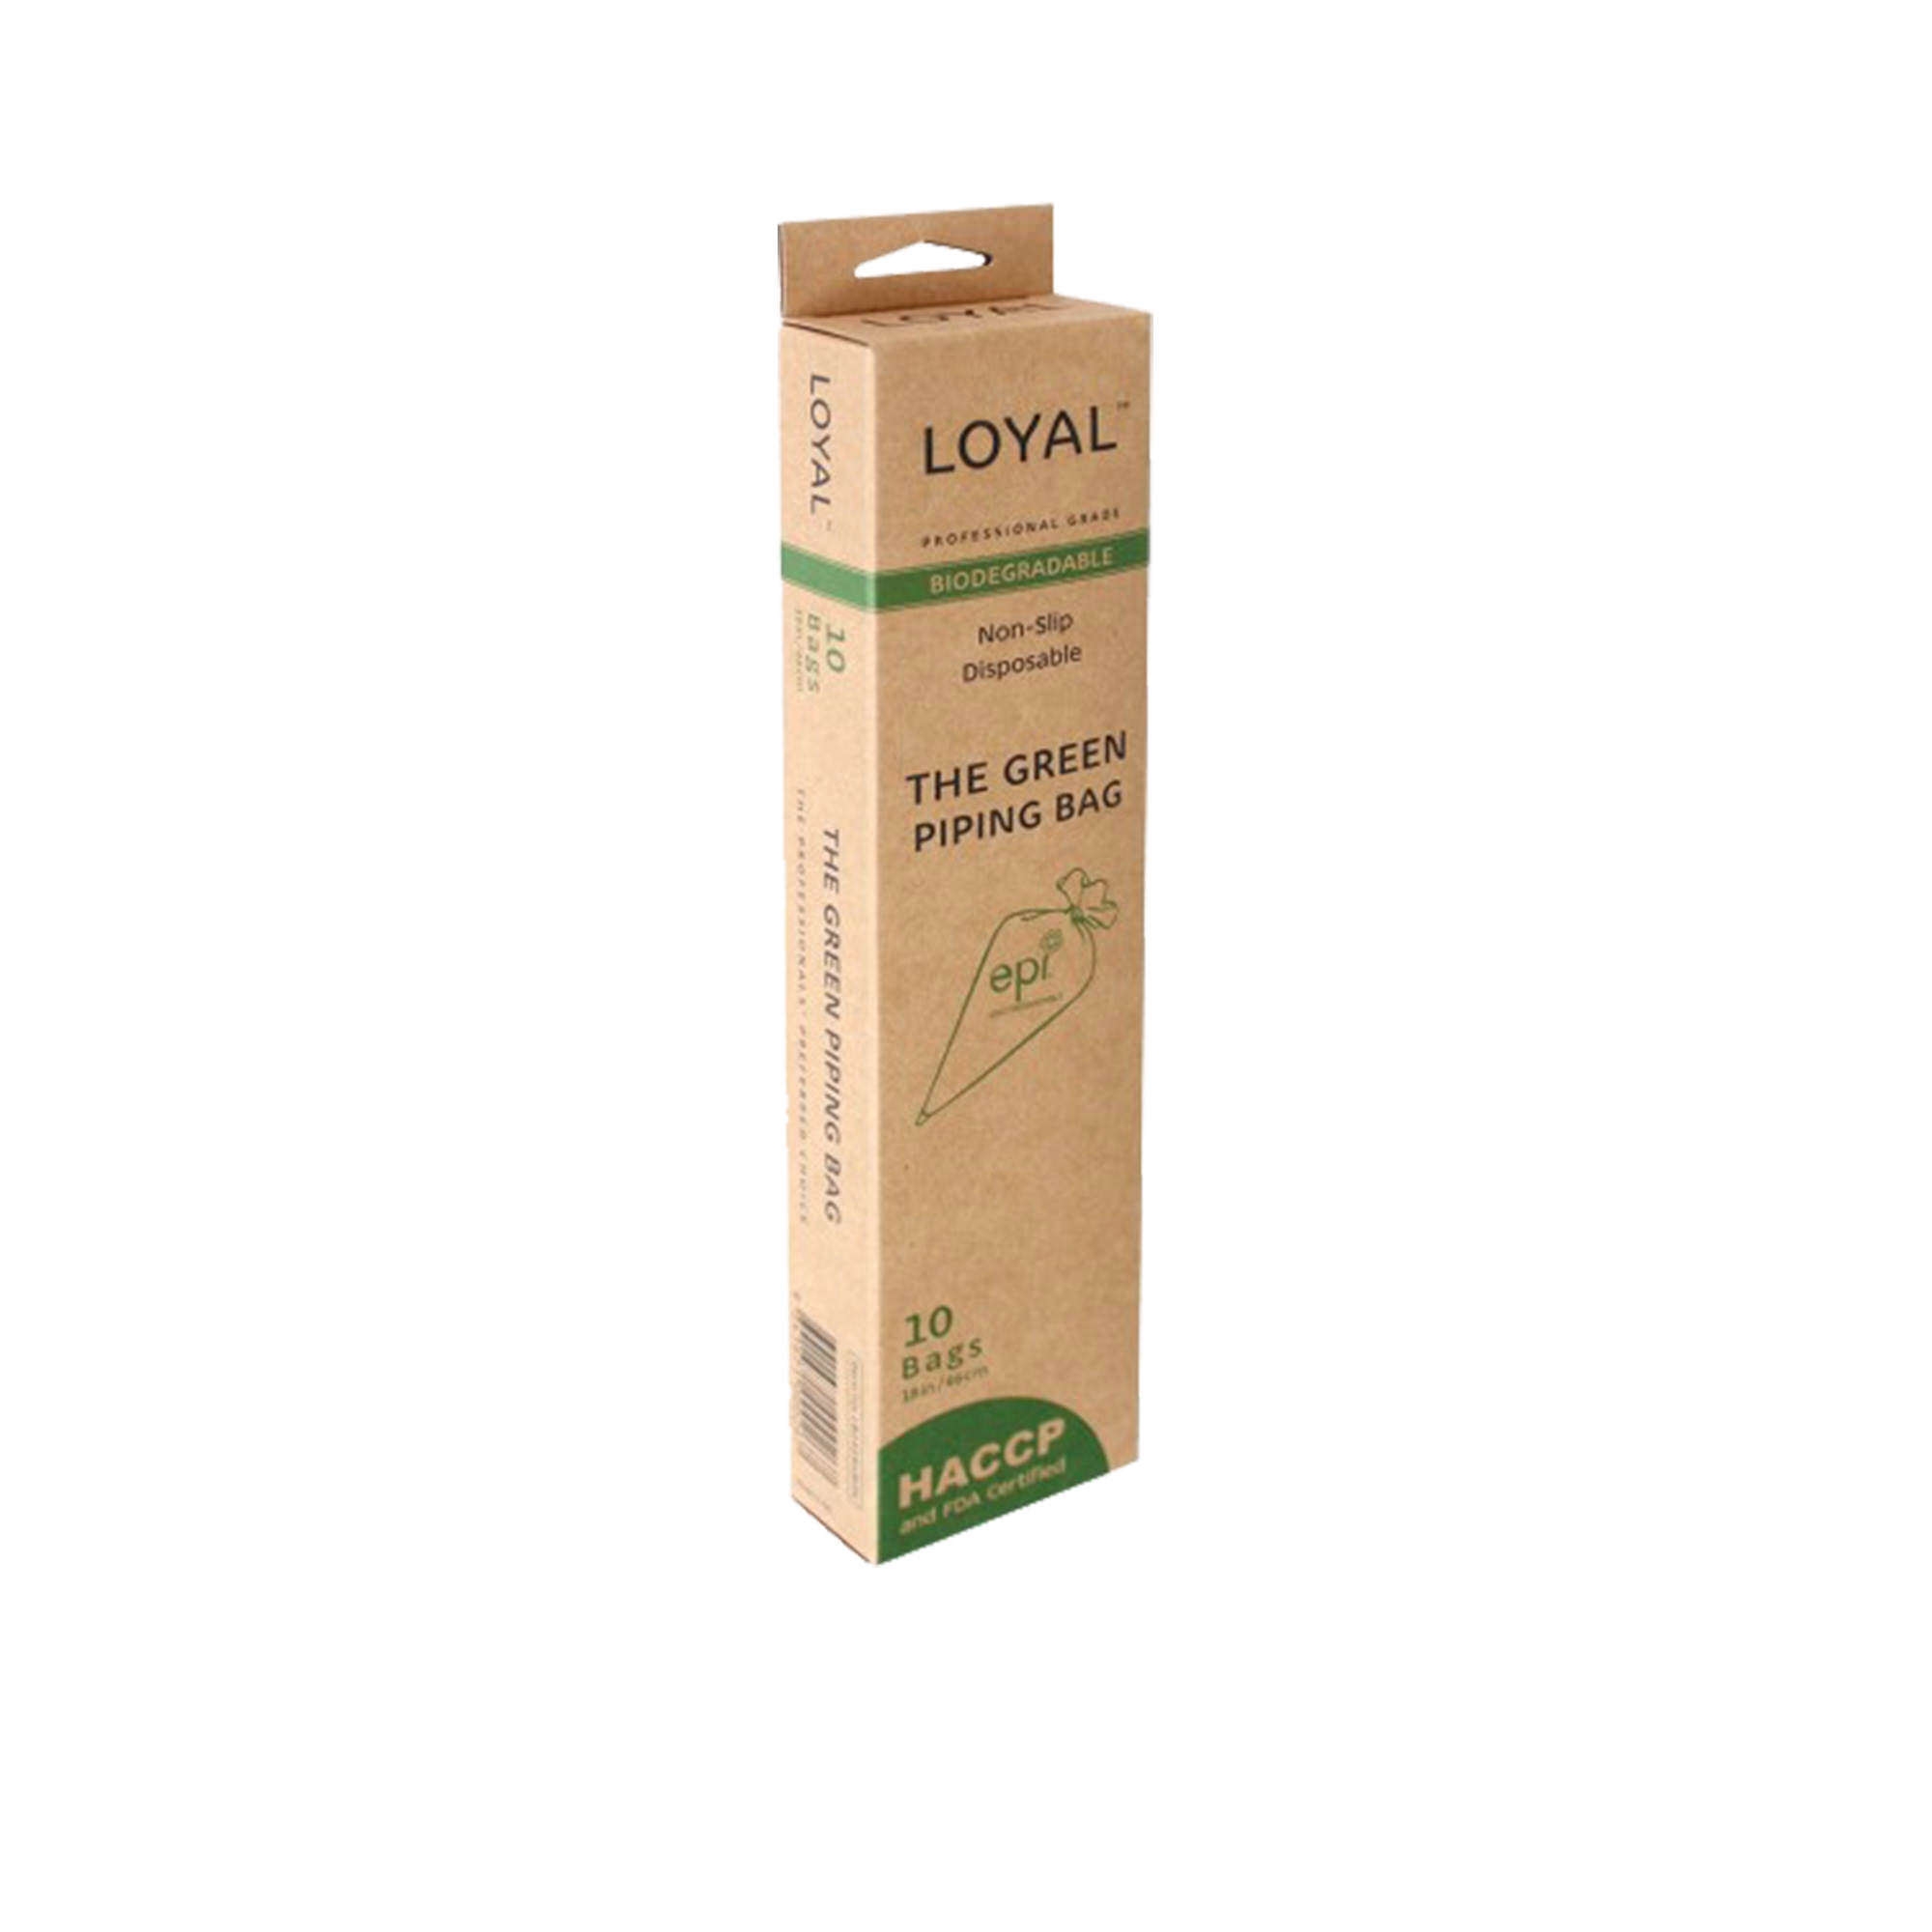
PIPING BAGS
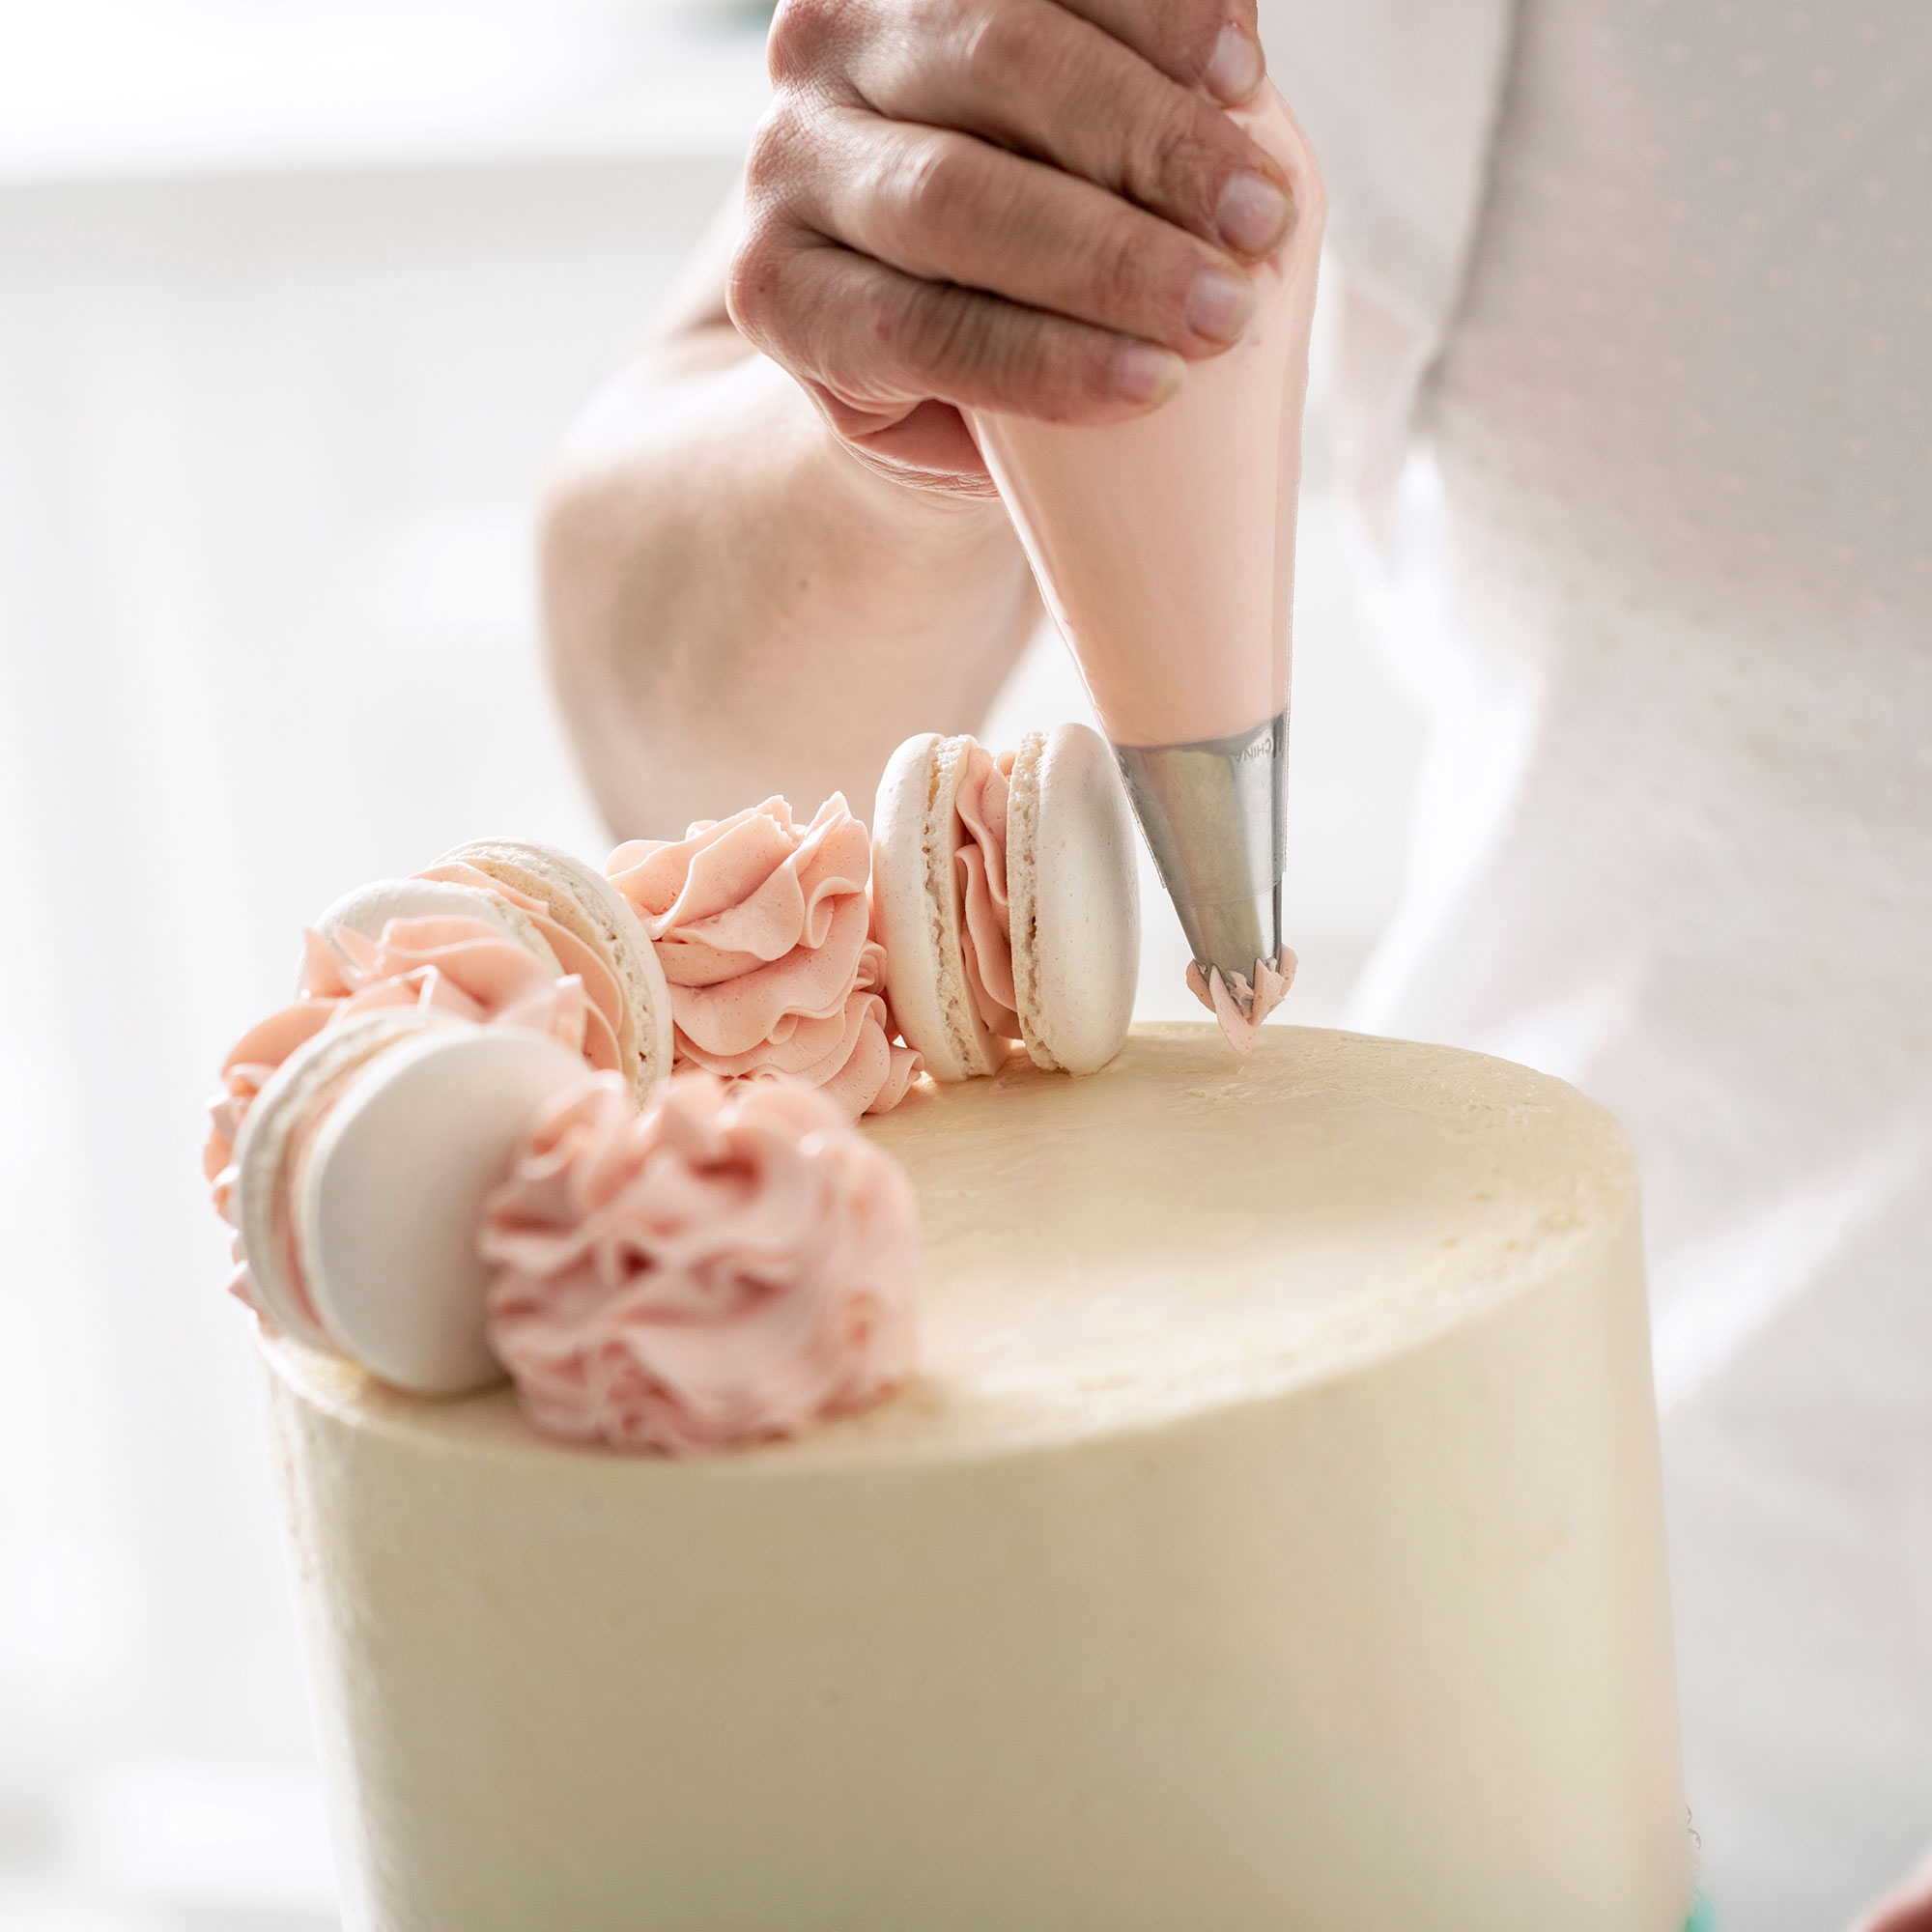
Using piping bags gives your cakes, cupcakes and other baked treats a more elegant, beautiful and tempting appeal! Mastering the art of the piping bag is fairly simple, but it can take some practise to really get the hang of it.
How to fill: To fill the bag, drop your tip of choice in the end and then holding the bag in one hand fold down the top with the other so a generous cuff is formed. Next, grab a spatula (preferable an angled one) and fill the bag so it is approximately half full with icing. To close the bag, unfold the cuff and twist the bag closed making sure to force the icing down into the bag so air pockets are removed and the consistency of the pipe is even from the get go.
Proper grip: The way you grip a piping bag is integral to the success of your piping. Incorrect technique can throw your whole decorative process off and leave you with very little control when decorating. The most common mistake made is piping from the middle. Doing it this way offers very little control and the flow and spread of the icing that comes out can be very erratic and ultimately messy.
The correct way to hold a piping bag is from the top. After you have pushed all your icing to the base and twisted it, hold the bag from the end of the icing and squeeze from your palm and thumb. This method offers much more control and prevents icing from spilling out the back of your bag. When piping, use your second hand to lightly hold the bottom of the bag (near the nozzle) for extra grip and control.
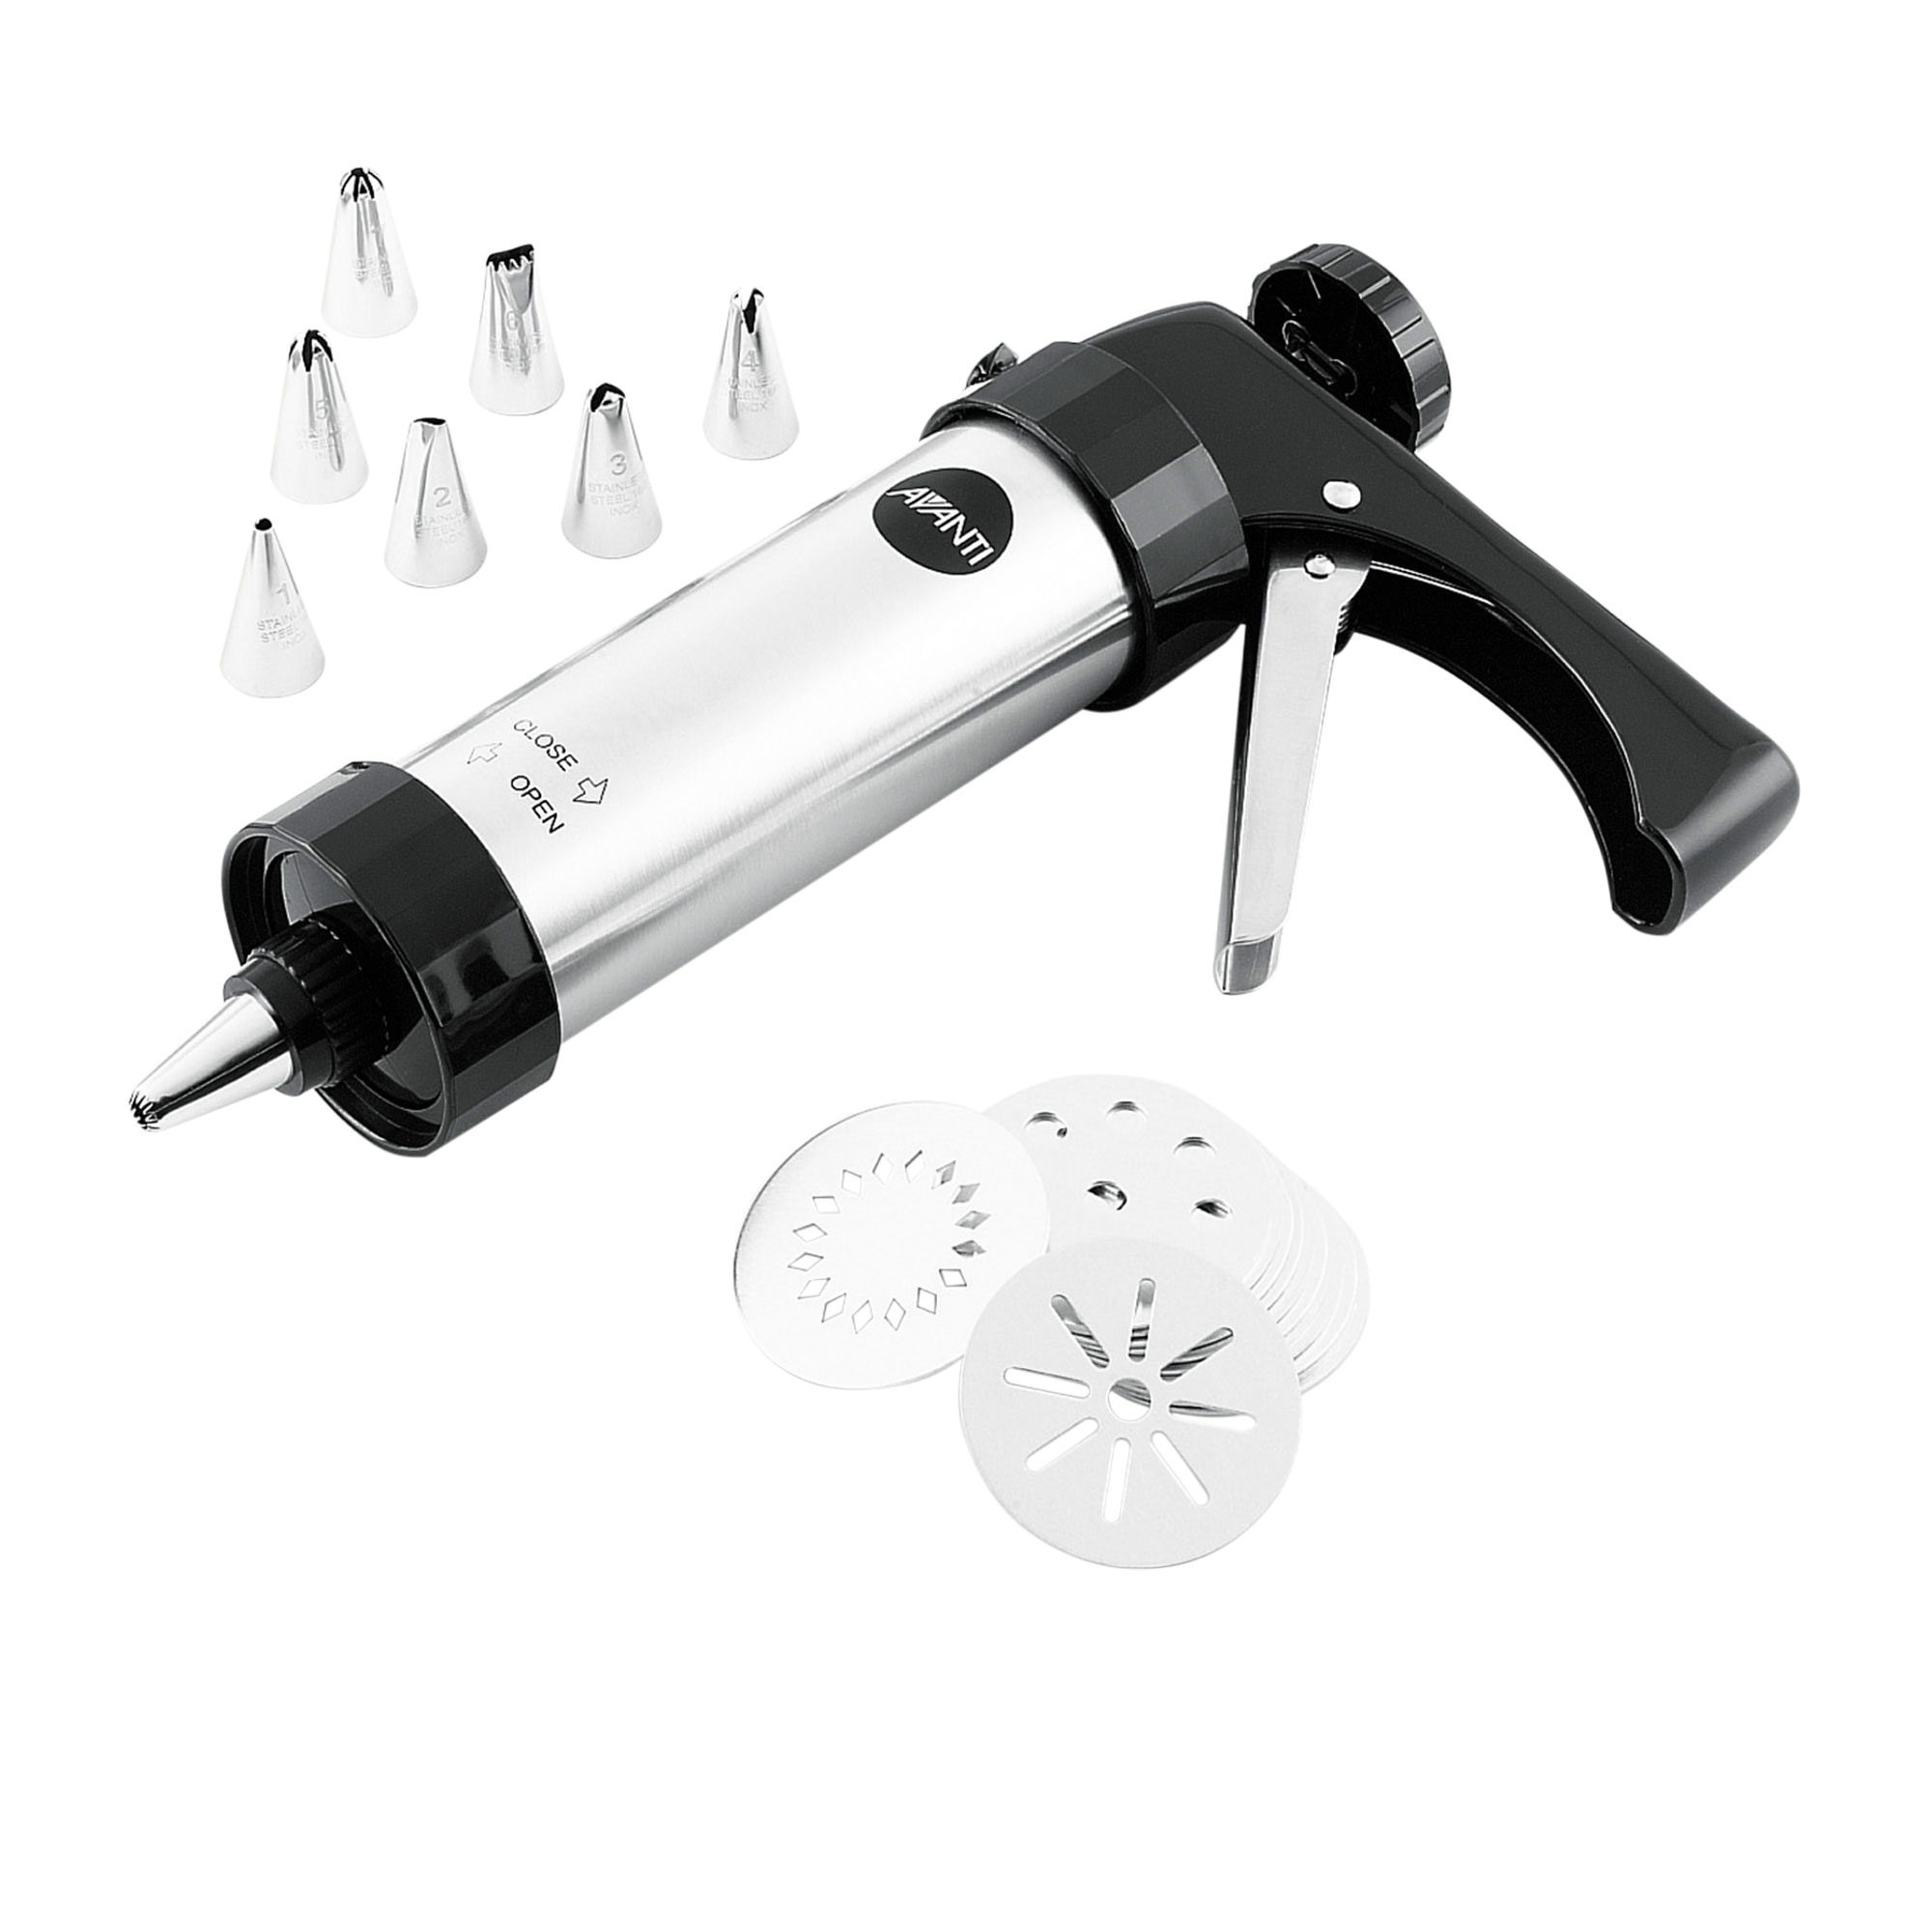
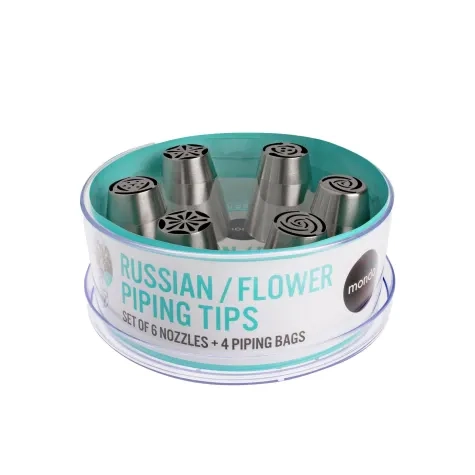
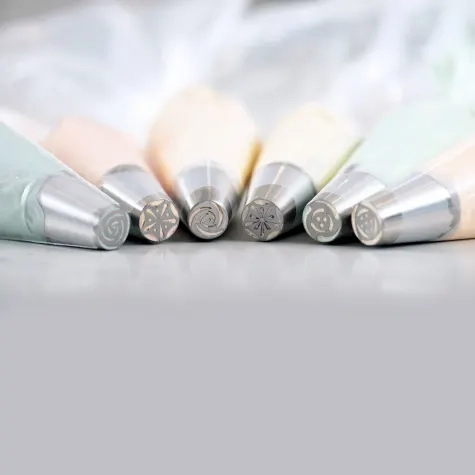
PIPING TIPS
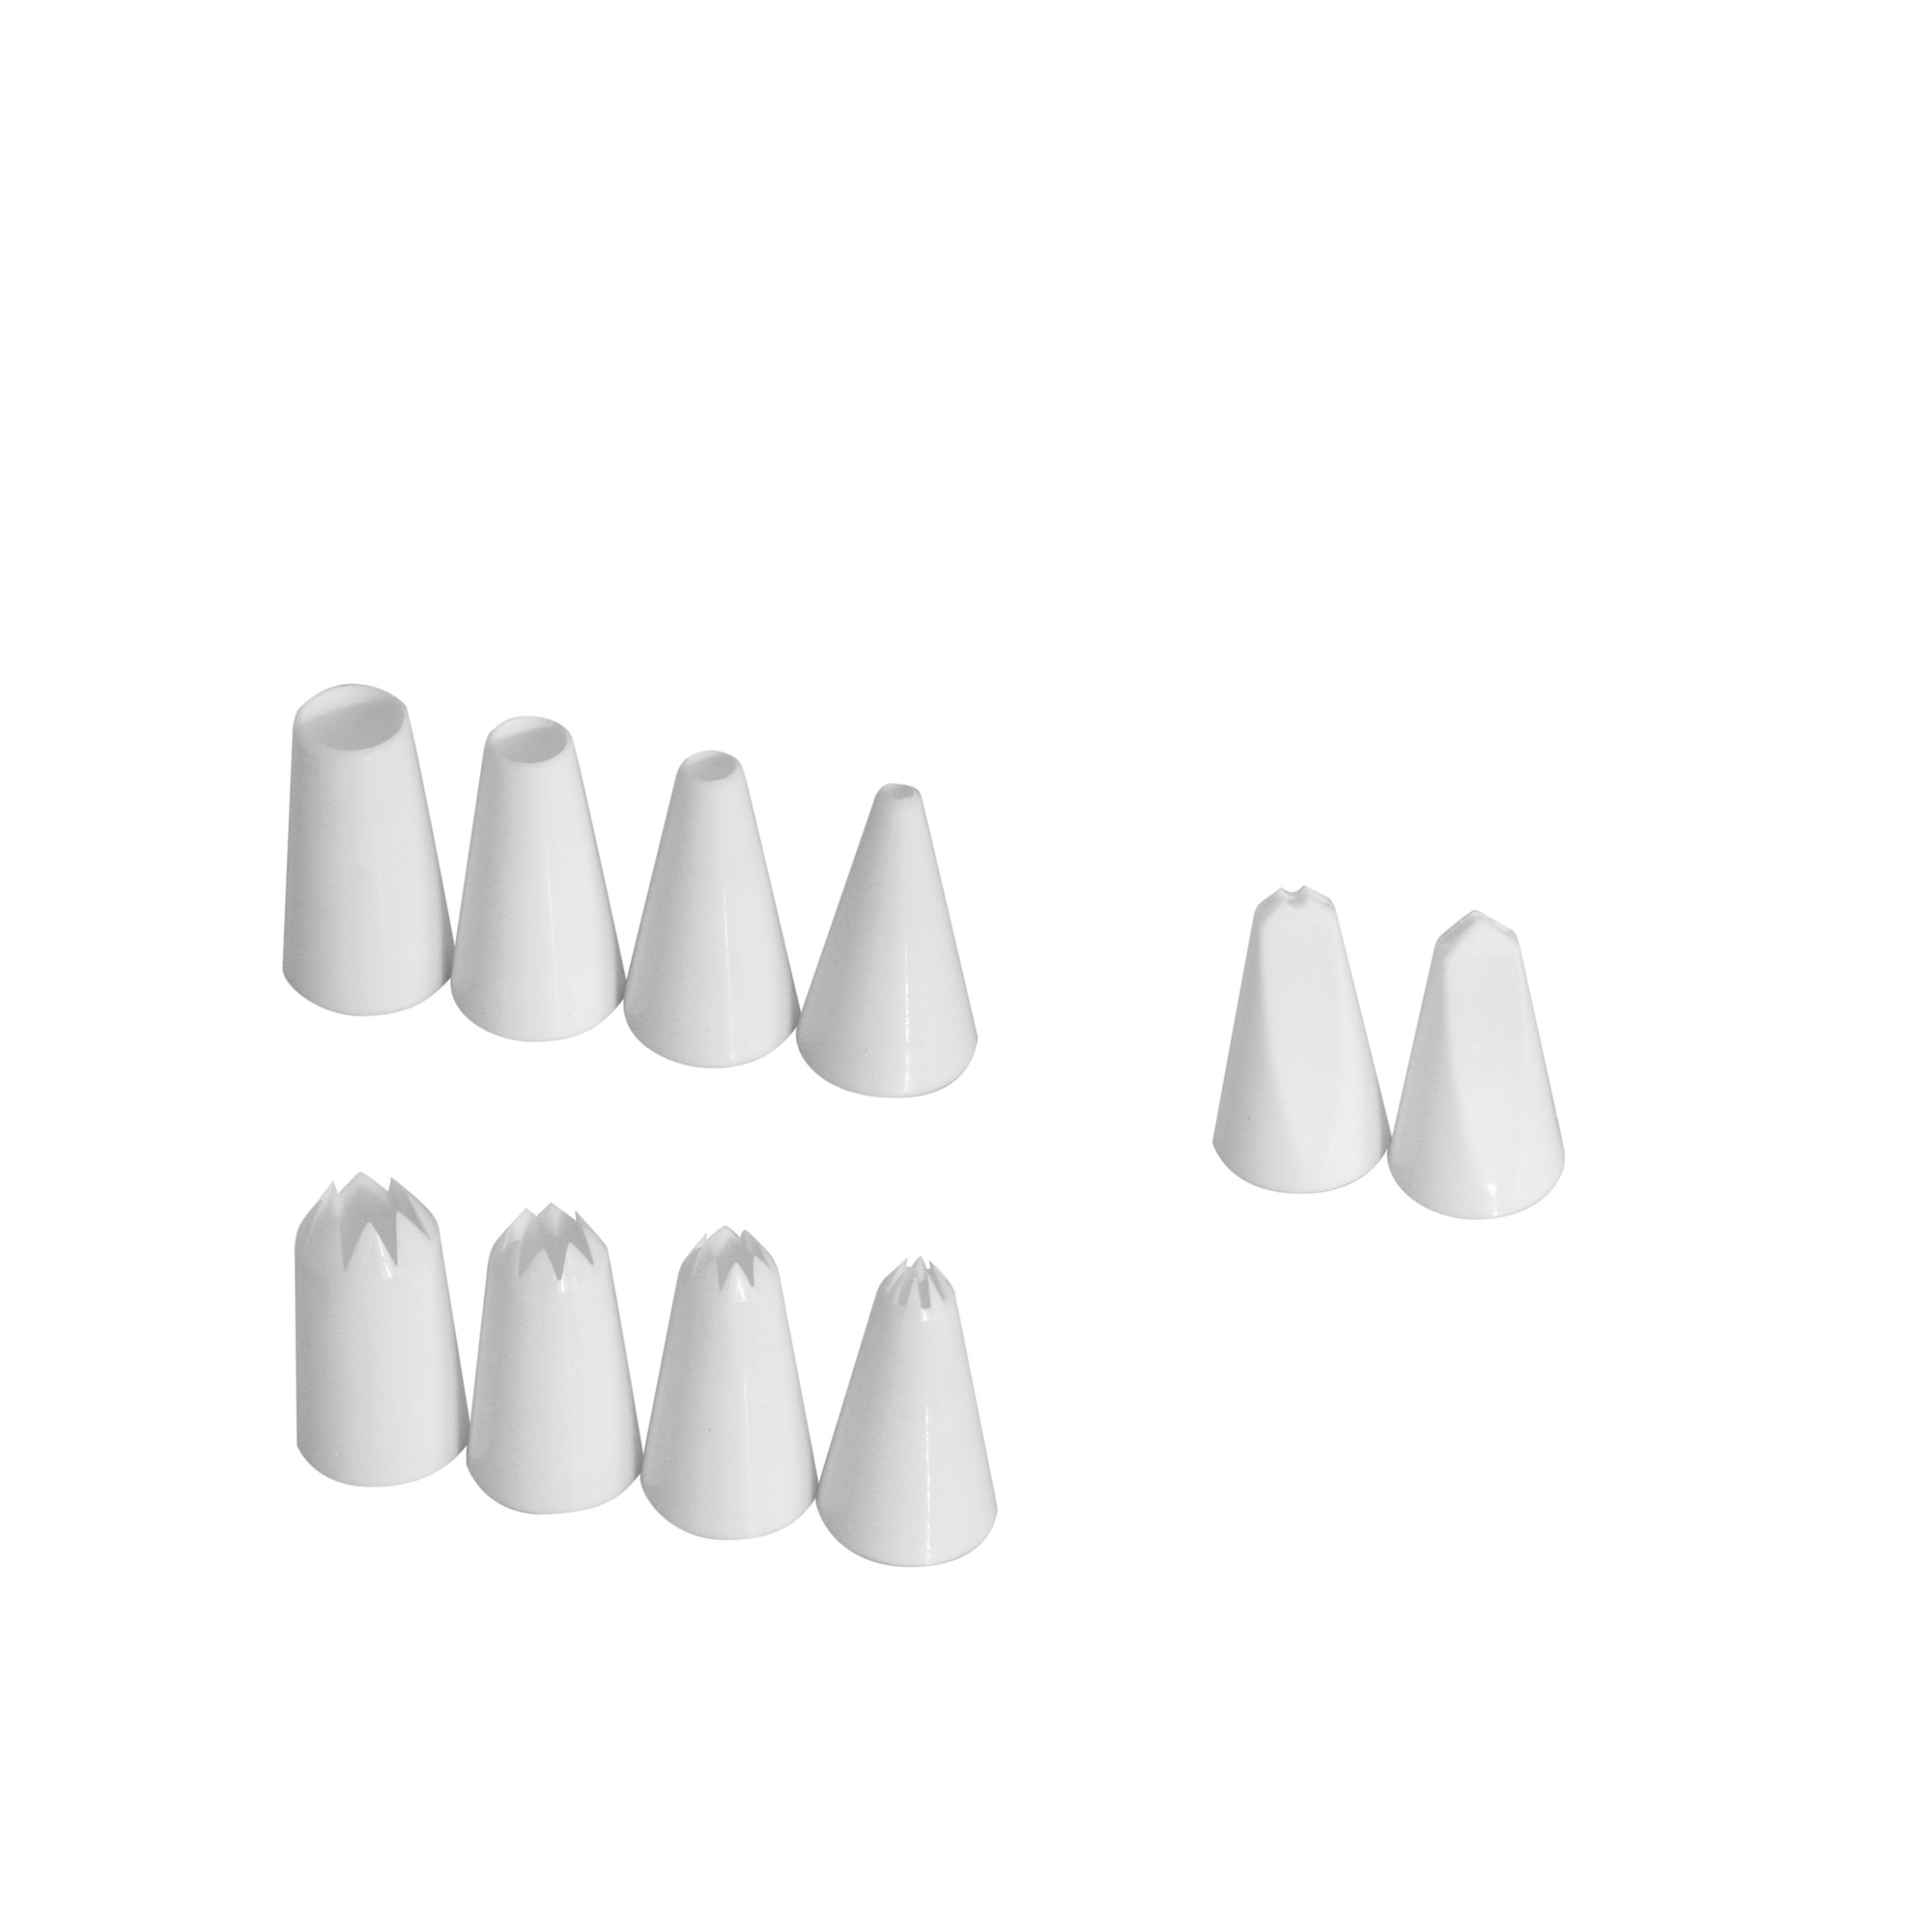
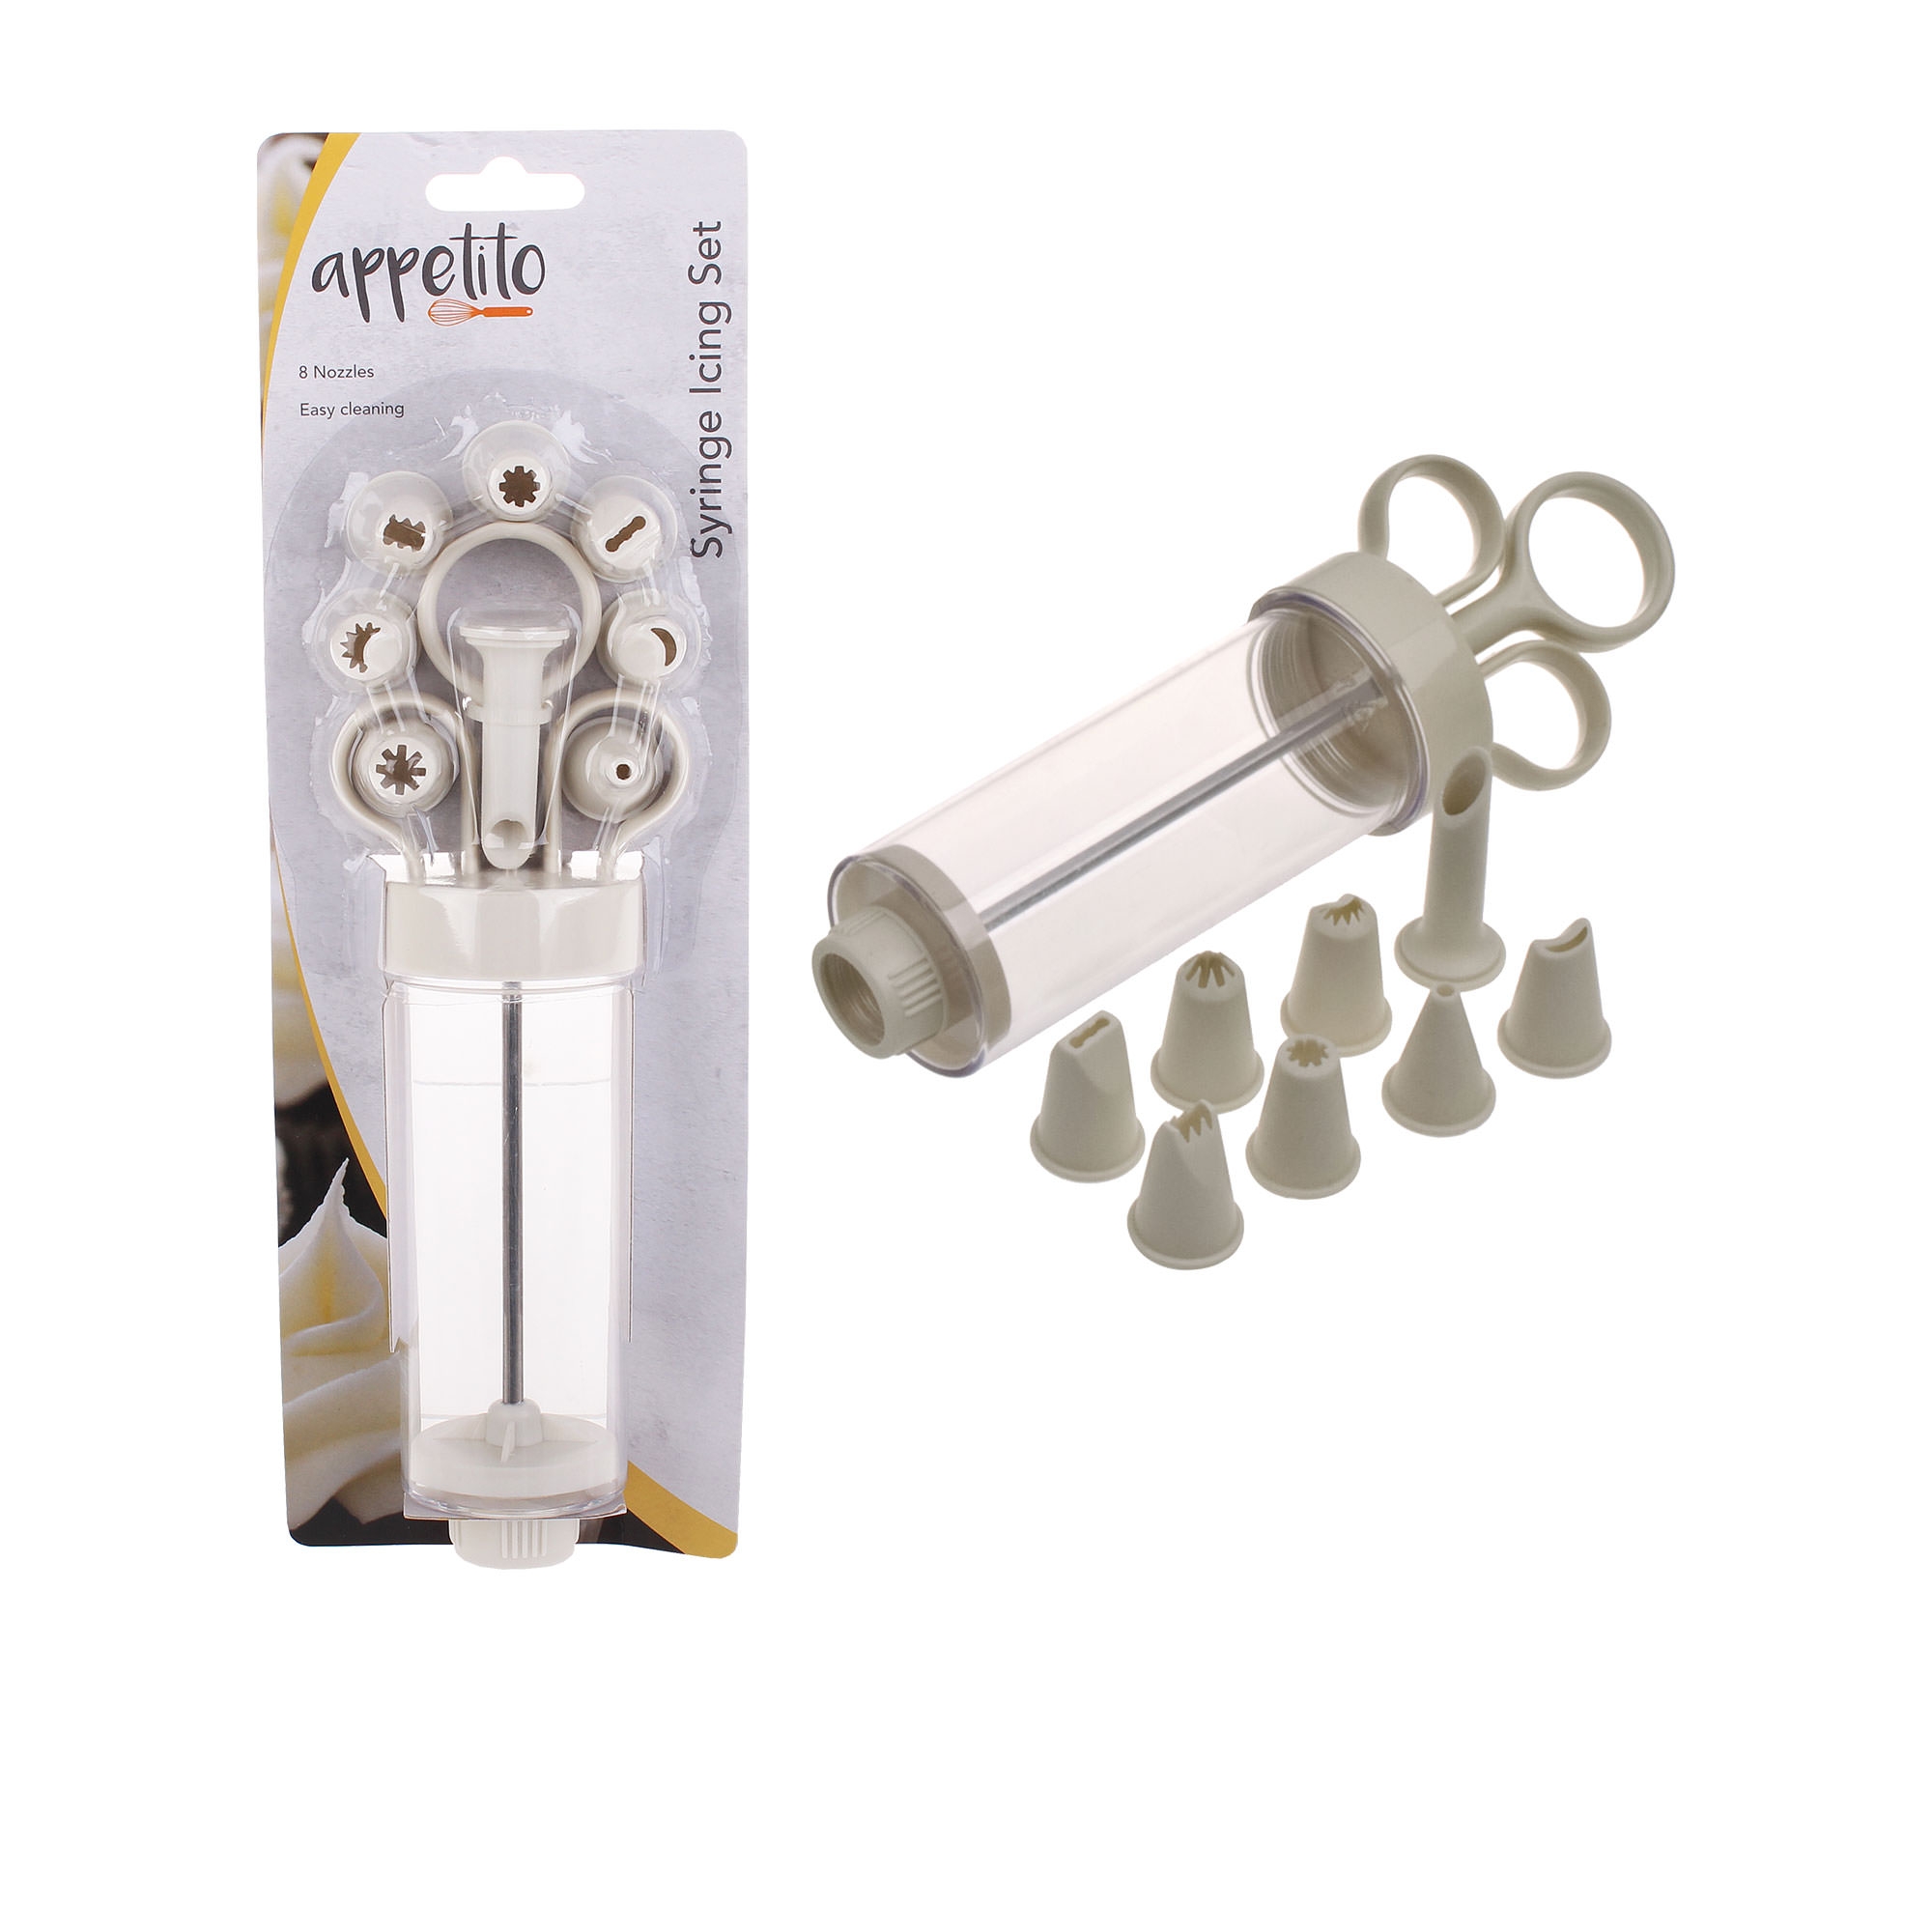
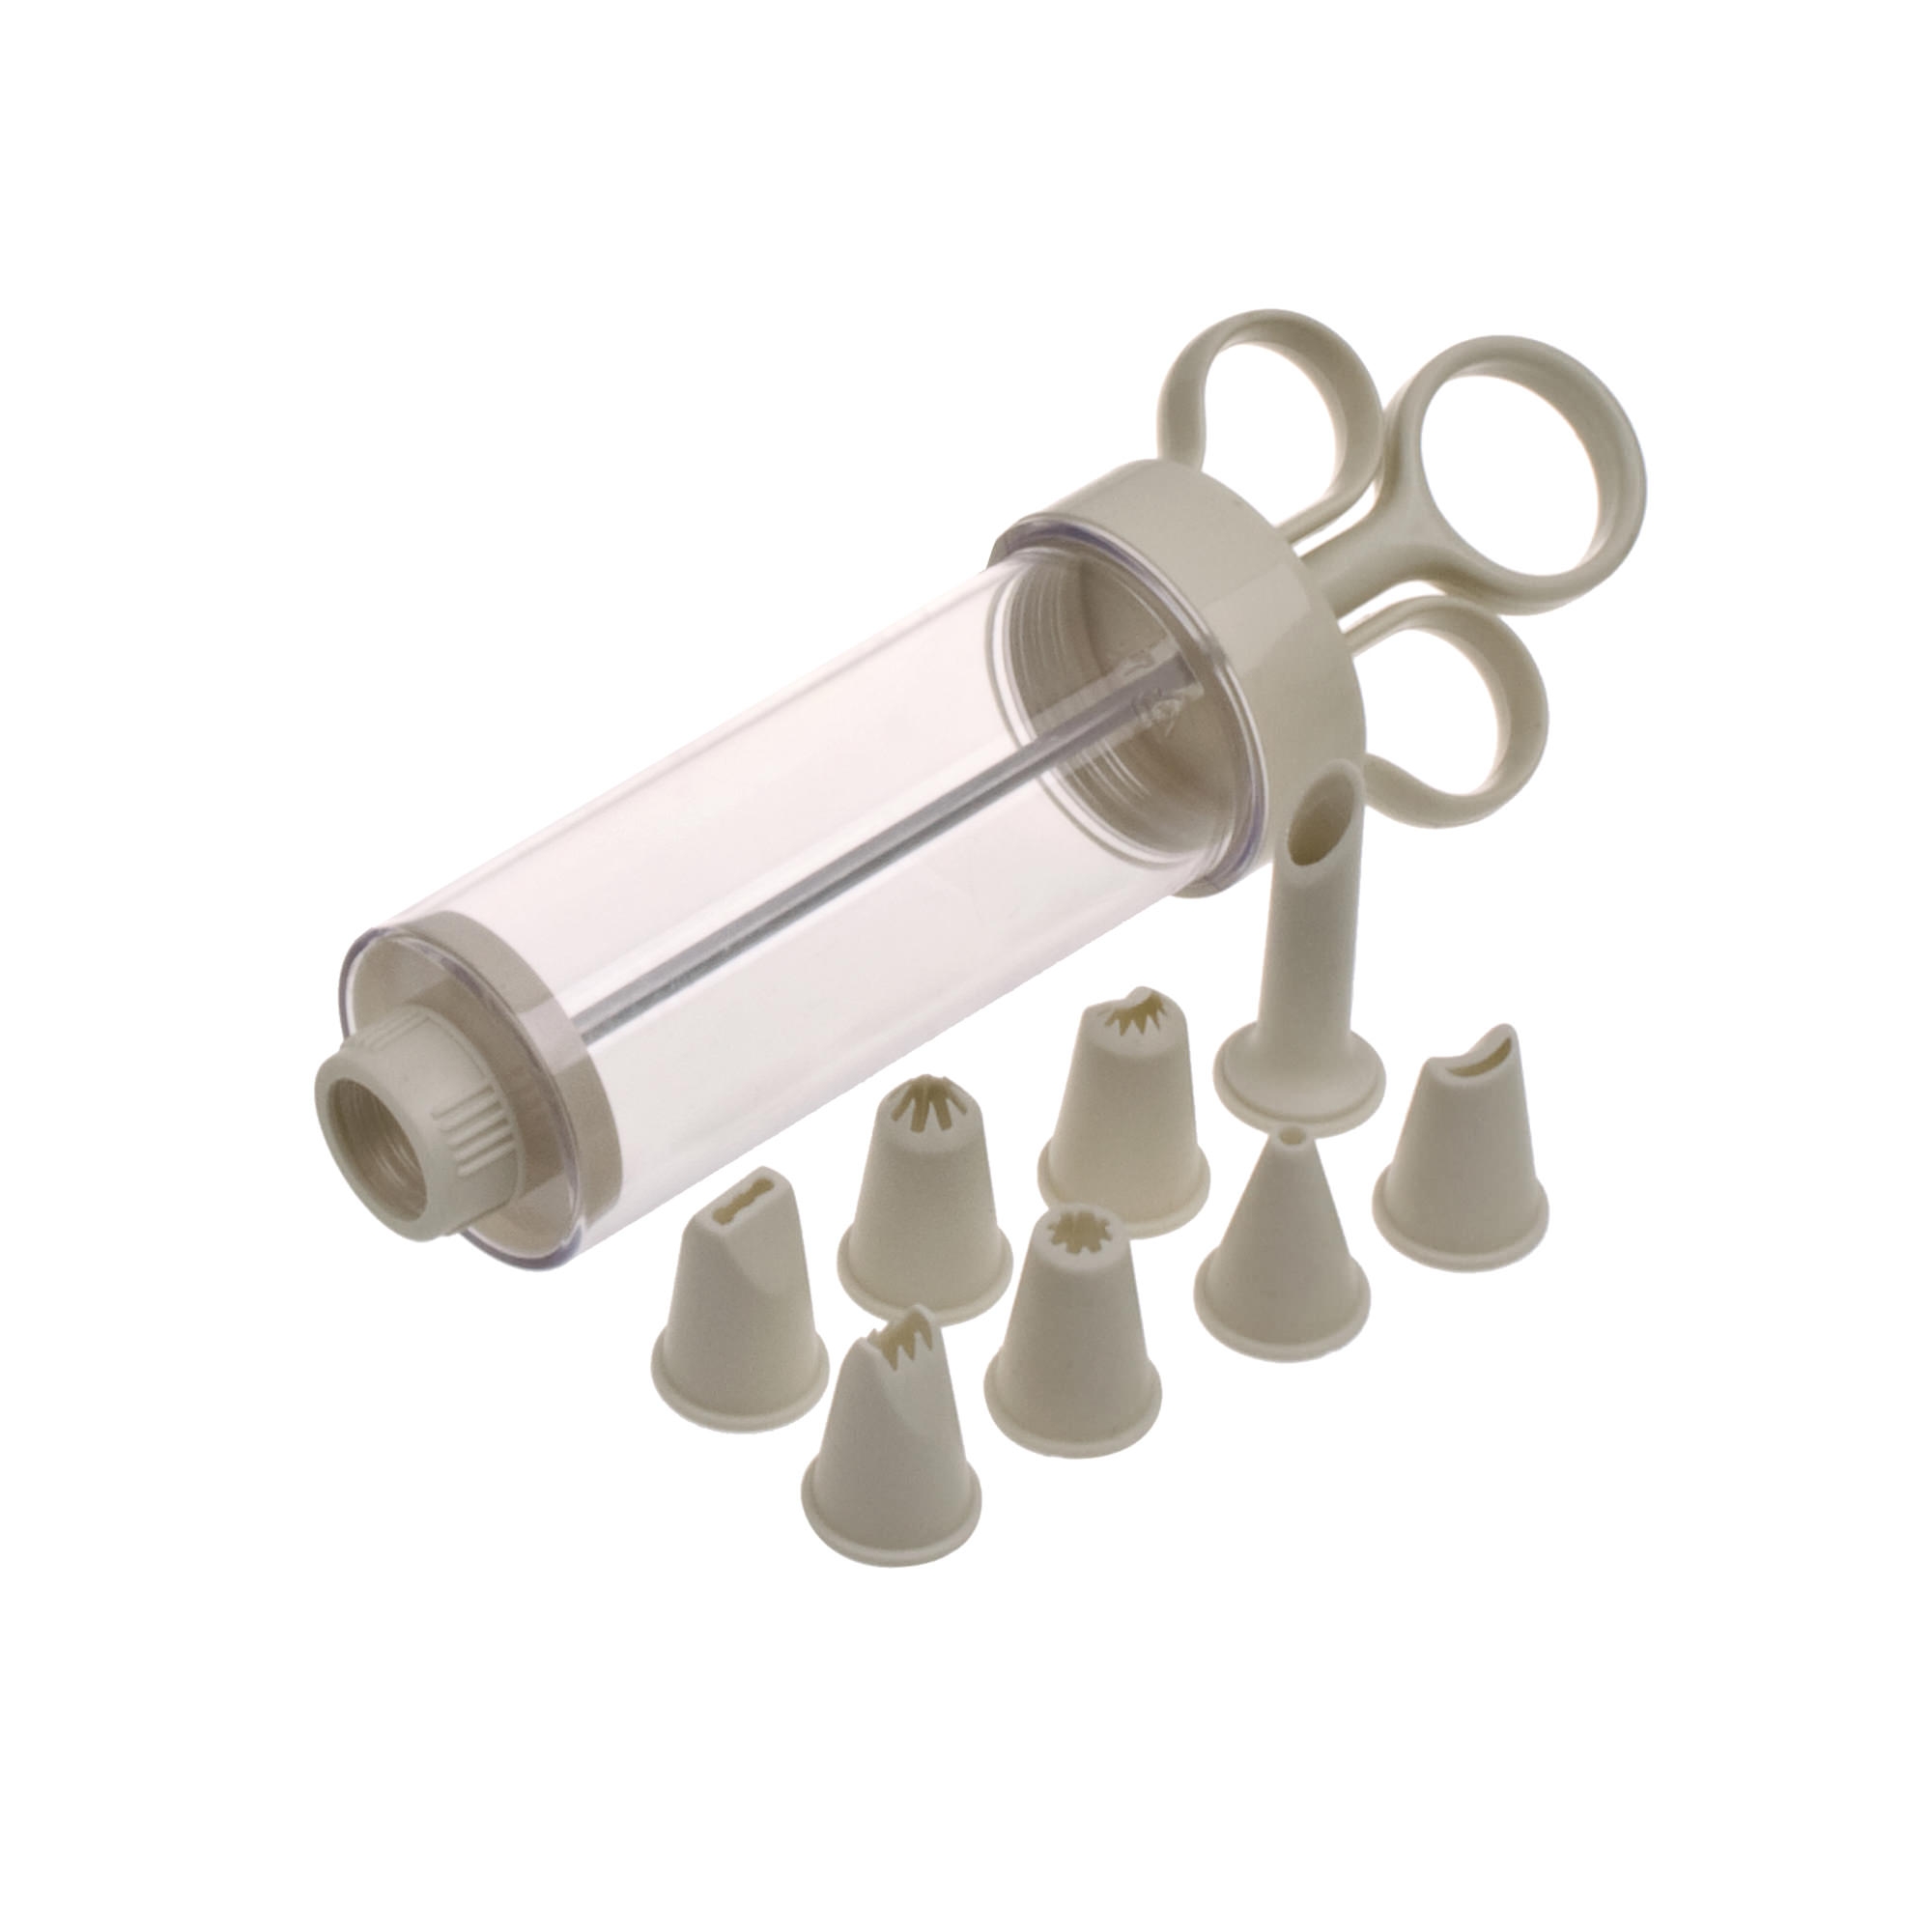
Once you have your piping bag technique down, this is where the fun begins! Piping tips make creating those beautiful shapes, swirls and patterns super easy. There are lots of different tips out there, but the following are the most common you're likely to come across:
Round tips: Round tips pipe out smooth and round. They are great for outlining detail, filling in larger areas and writing and printing messages. You can also use these to pipe dots, balls and flower centres, and for the more advanced you can get really creative with beading, string work, lace work and lattice.
Star tips: A favourite among cake decorators, star tips allow you to infuse your baked good with stars as well as shells, rosettes and flowers. A great one for beginners and experts alike!
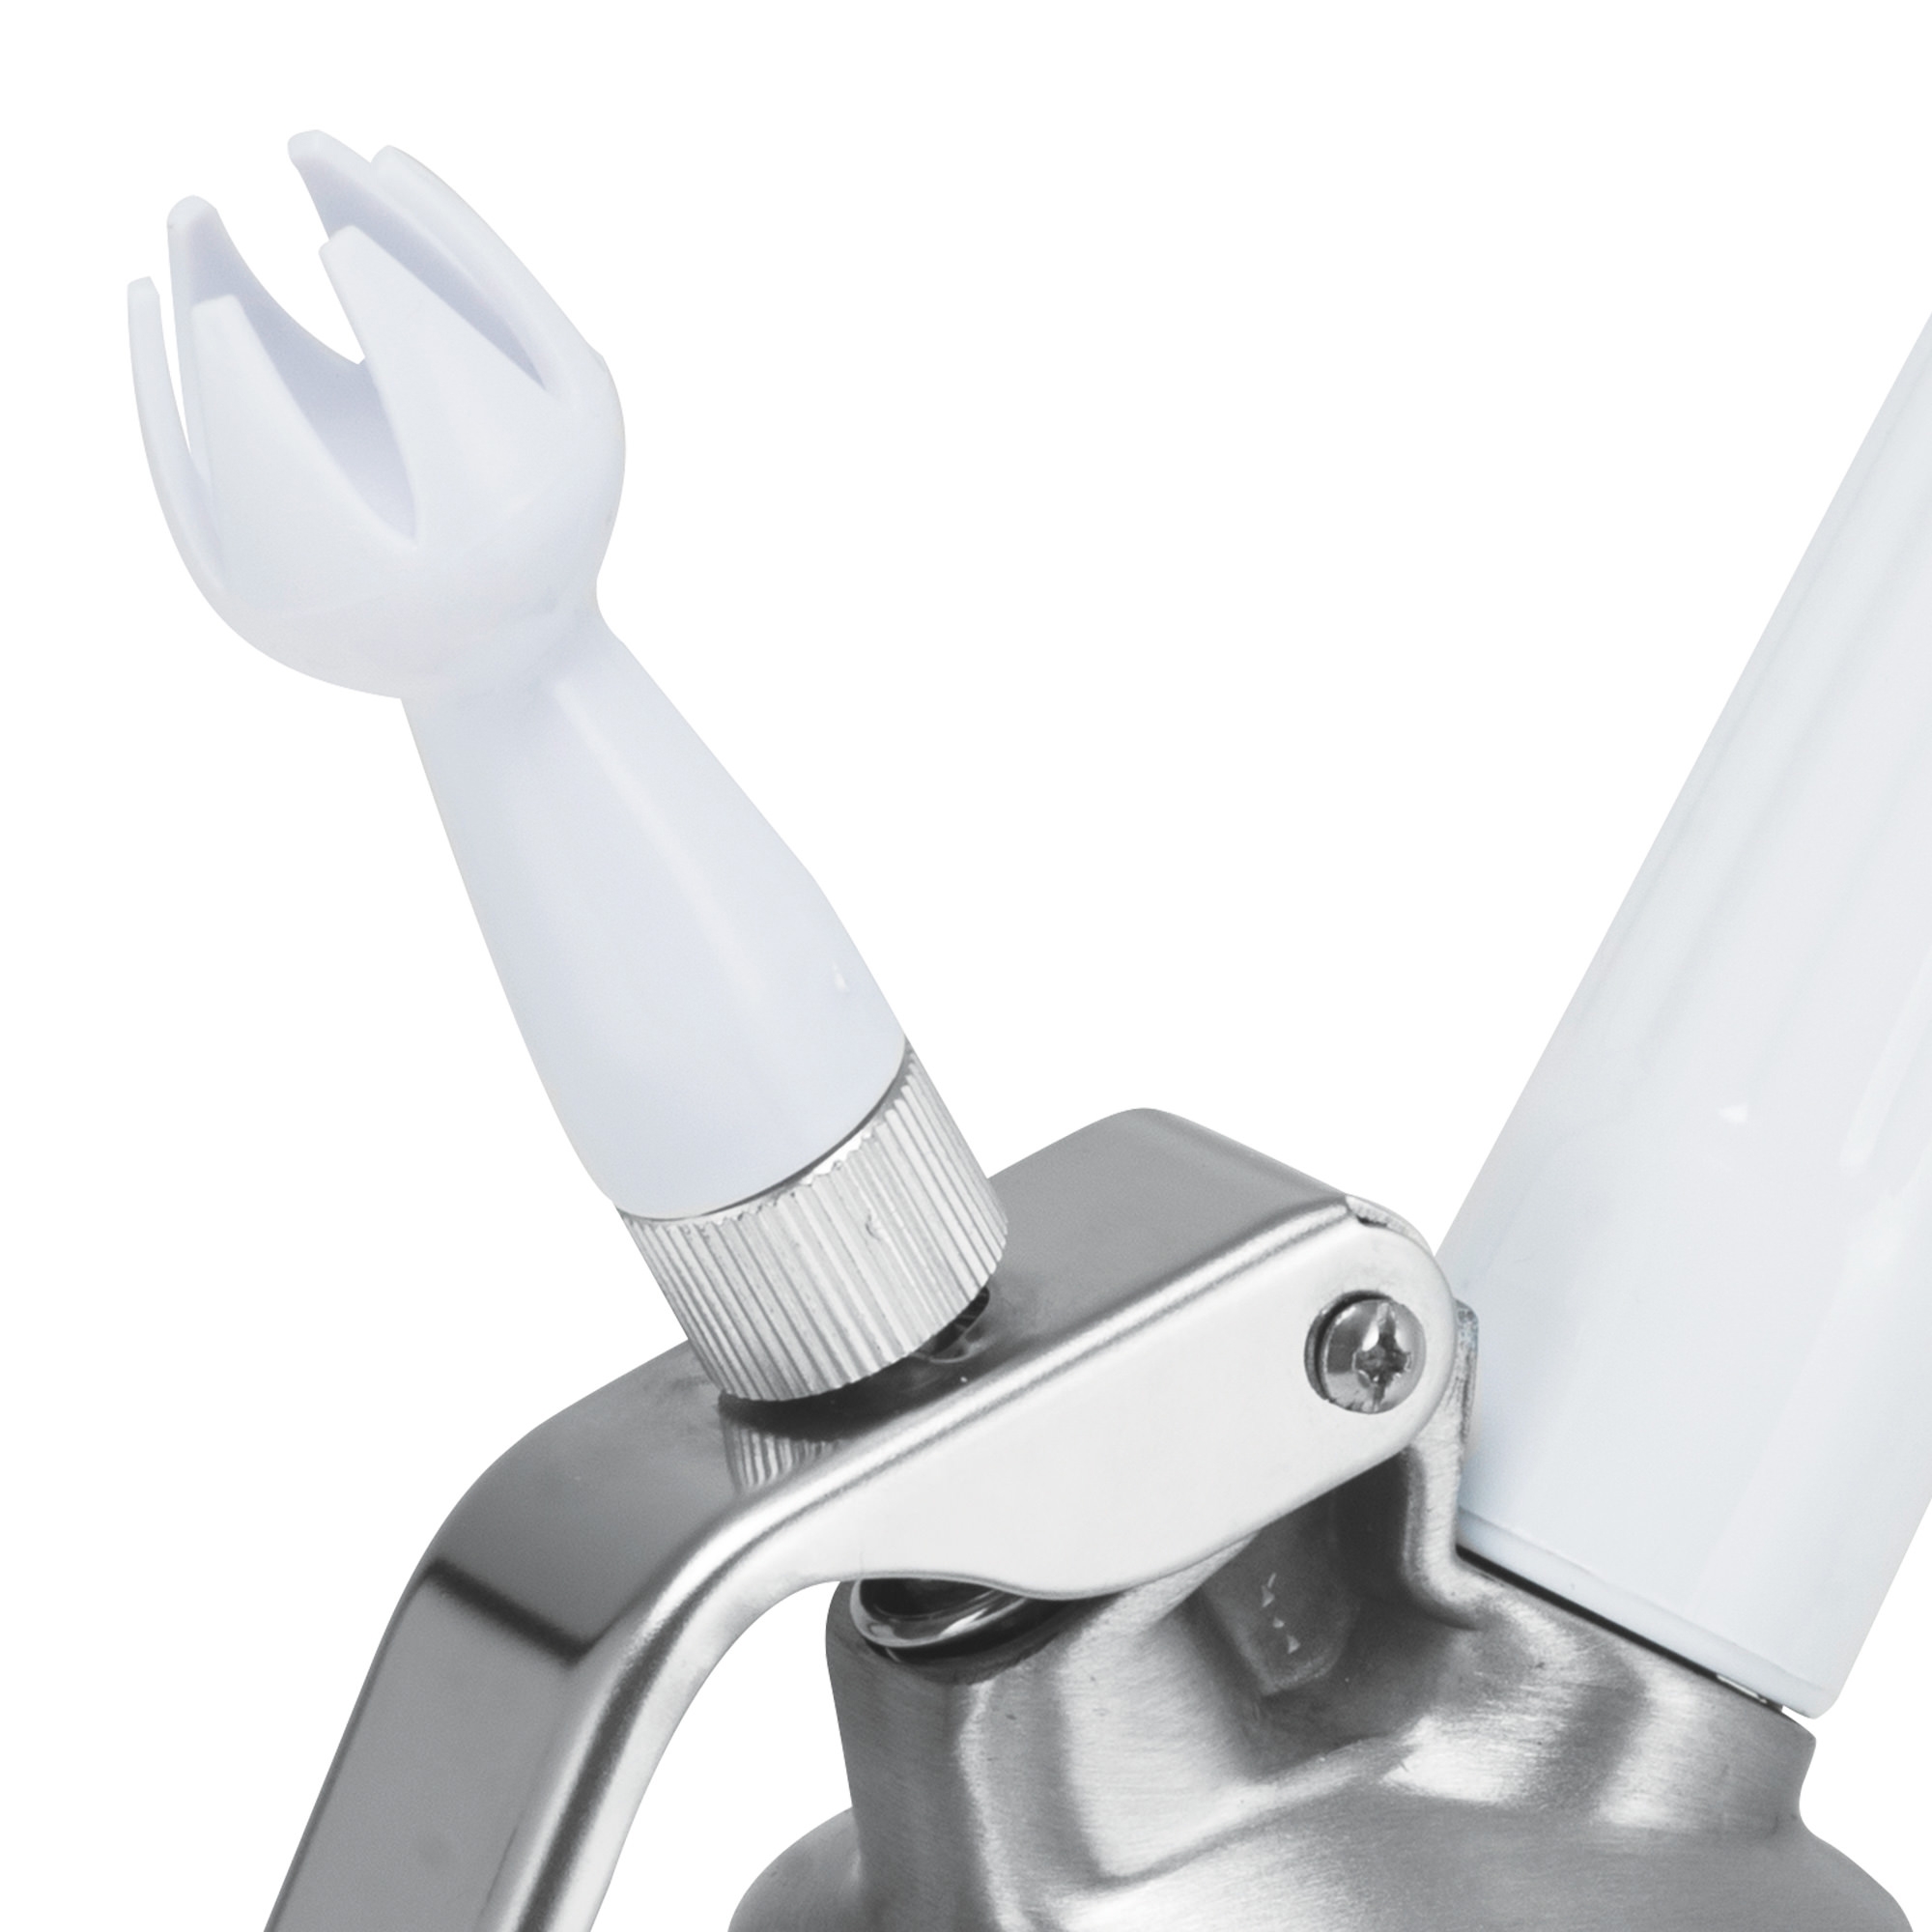
Leaf tips: Give your cake a touch of the outdoors with the leaf tip nozzles. Their V-shaped openings give the leaves pointed ends, which gives you control to make your floral enhancements plain, ruffled or stand-up leaves.
Drop flower tips: Drop flower tips create a flower effect with one squeeze, which make it a great tip for beginners. With a drop tip you can produce either a plain or swirled flower.
**Rose tips: **A rose tip features an opening that is wide at one end and narrow at the other. Use these to create petals, which can in turn form a range of different flowers.
Ruffle tips: This versatile tip has an opening that resembles a teardrop and is ideal for making ruffles, ribbons, streamers and special effects.
Speciality tips: Speciality tips are fantastic for giving your creative designs a distinct look. These are great for making candleholders, deep ridged borders, three dimensional formations and trees (great for Christmas time!).
Multi-opening tips: Multi-opening tips can help assist with those advanced decorative elements like piping rows or beading, as well as giving the illusion of grass or hair.
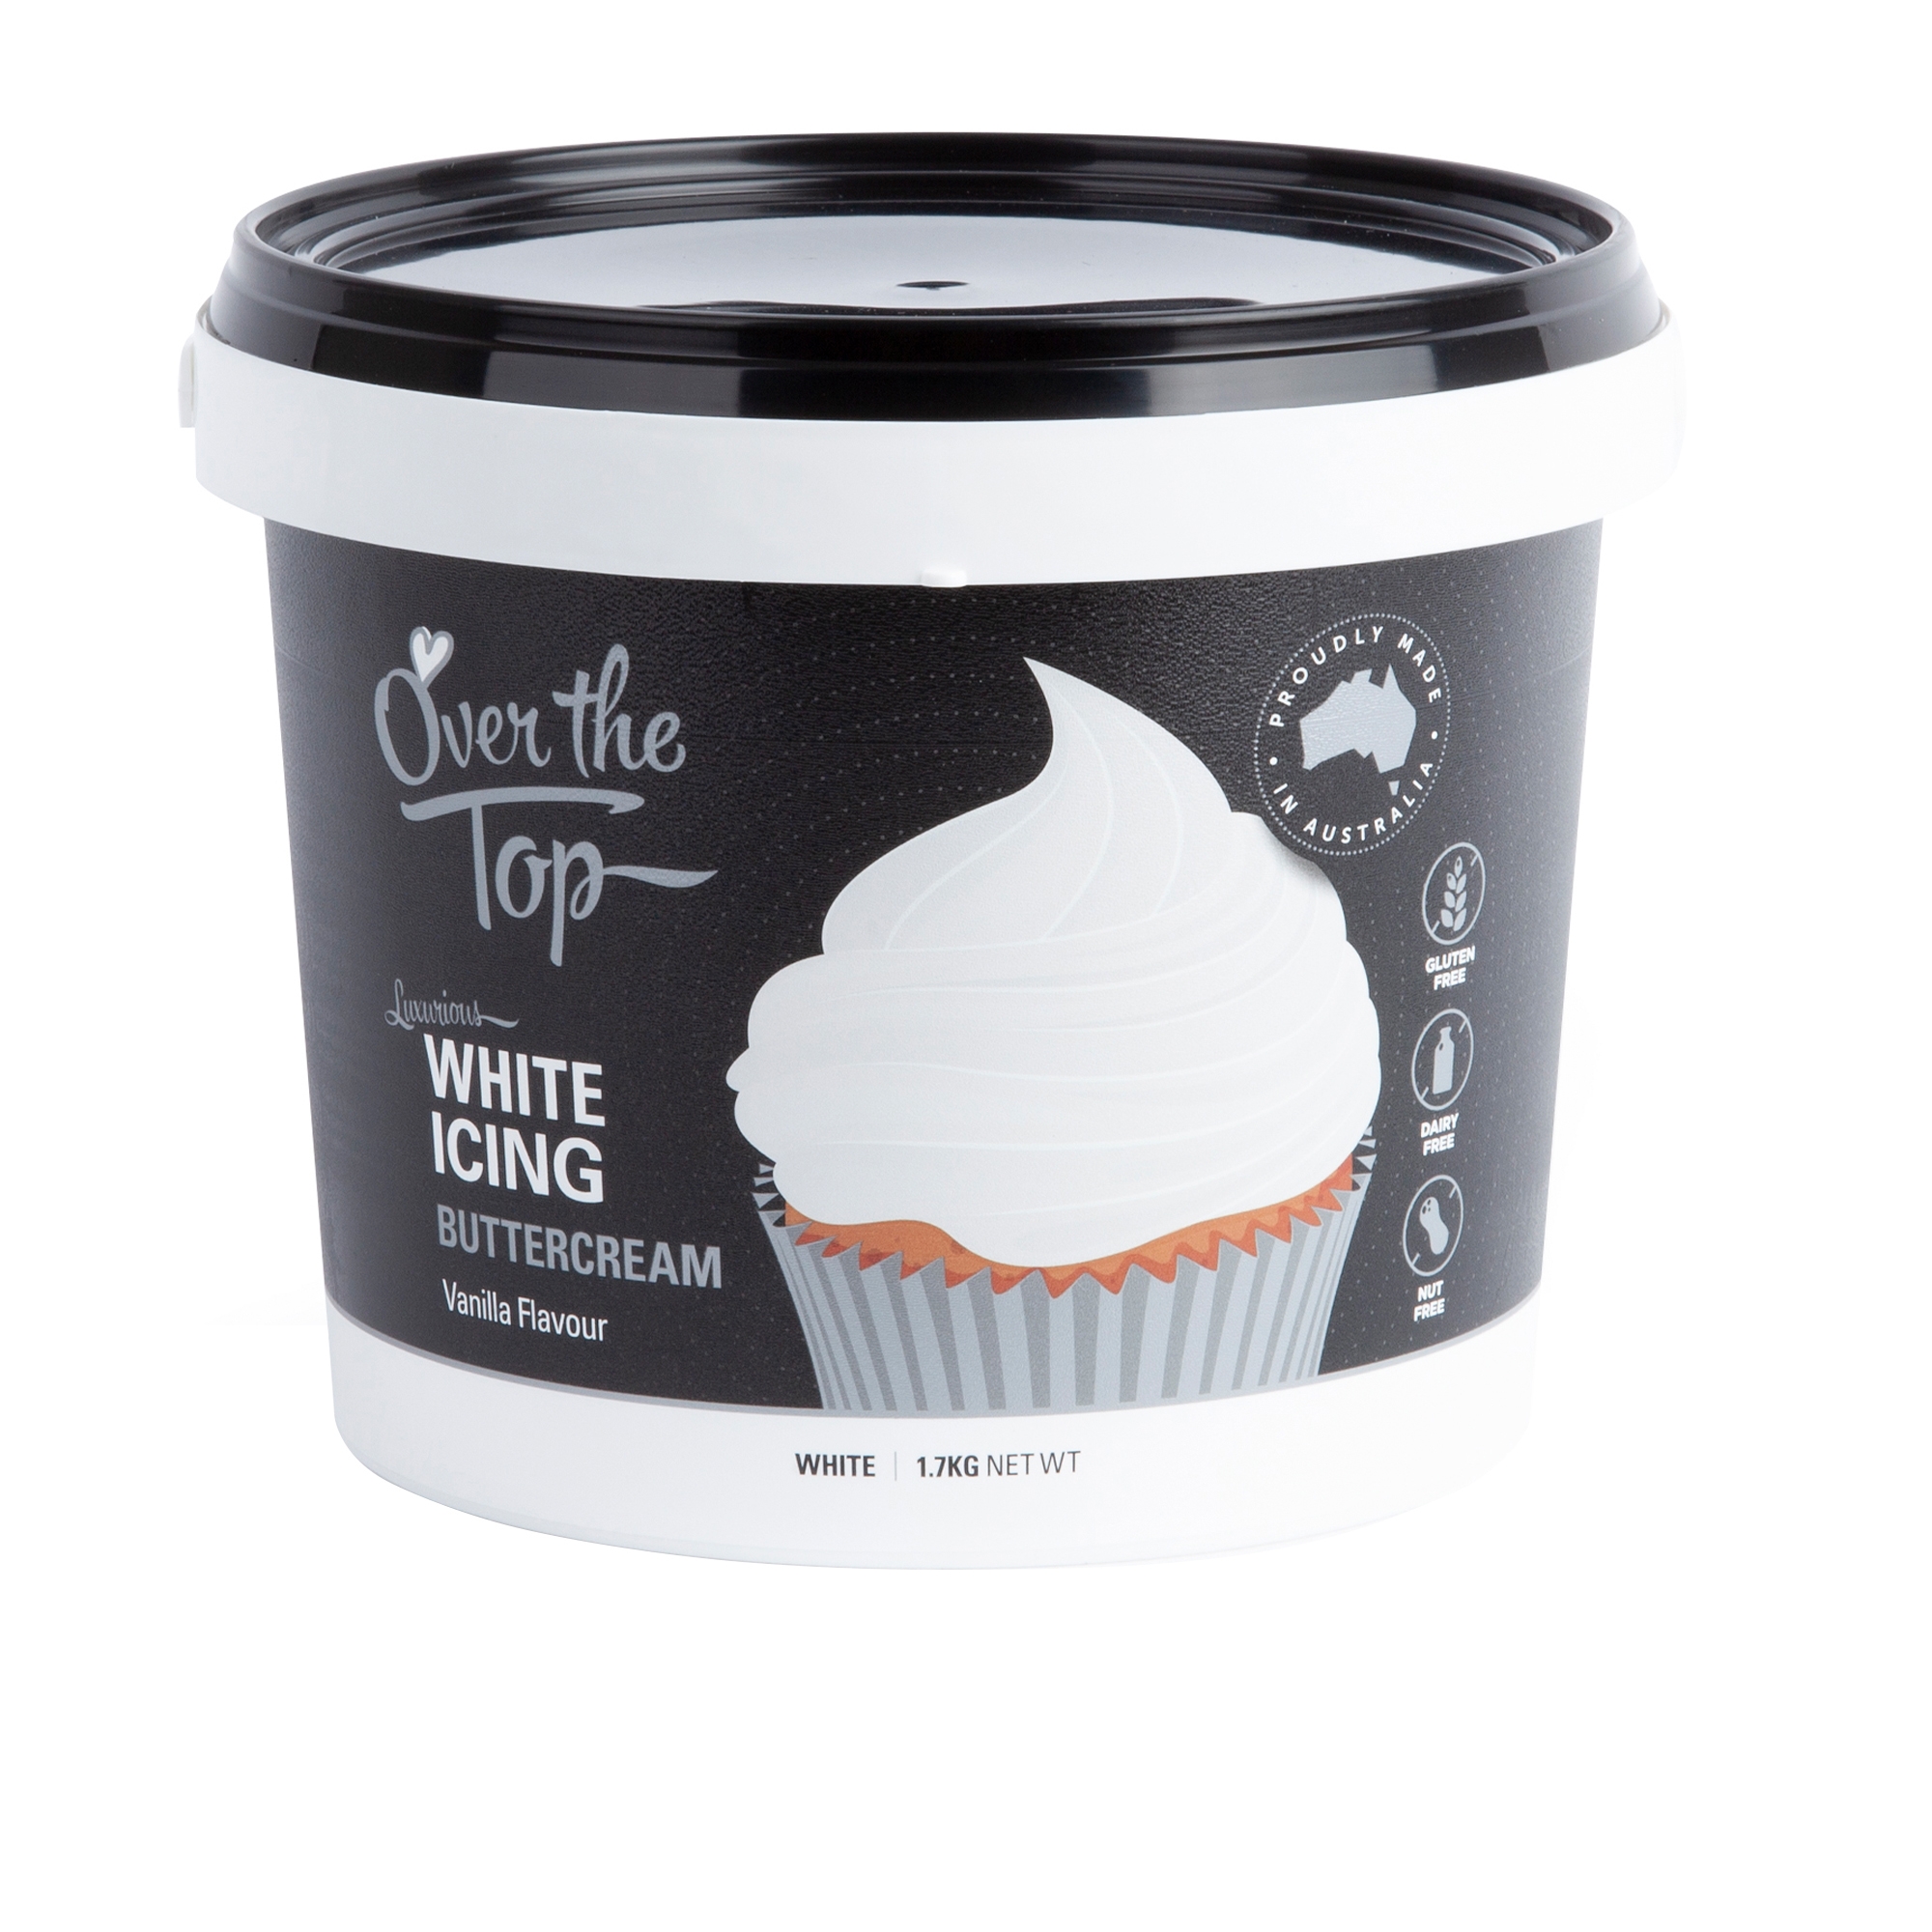
APPLYING FONDANT ICING
Fondant is great edible tool to use when decorating cakes. A creamy, sugary and thick mass of a substance, fondant is available in a number of different varieties (rolled, sculpted and poured) that all serve different purposes. The most common is the rolled fondant, which is great for covering a cake and creating a base for which to build your creating masterpieces.
Here are a few tips to remember when working with fondant:
- Work quickly. Fondant will dry out very quickly, if you don’t work swiftly it will crack and become very difficult to use. When you’re not using the icing, even for just a minute, put it in a plastic bag or cover with vinyl to avoid it drying out.
- When working with fondant keep your hands cool. Warm hands will make the fondant sticky.
- The weather can have a profound effect on your fondant. Humidity will make it sticky and extremely chilly conditions will make it very hard and difficult to mould. Where possible, try and work around these conditions.
- Once fondant is applied to your cake, do not refrigerate it as it will sweat in the fridge. Instead, store it in a cool place.
- Work the icing in small amounts. If you try and knead large amounts, the job can become quite difficult and put undue pressure on yours wrists, while also drying out your fondant.
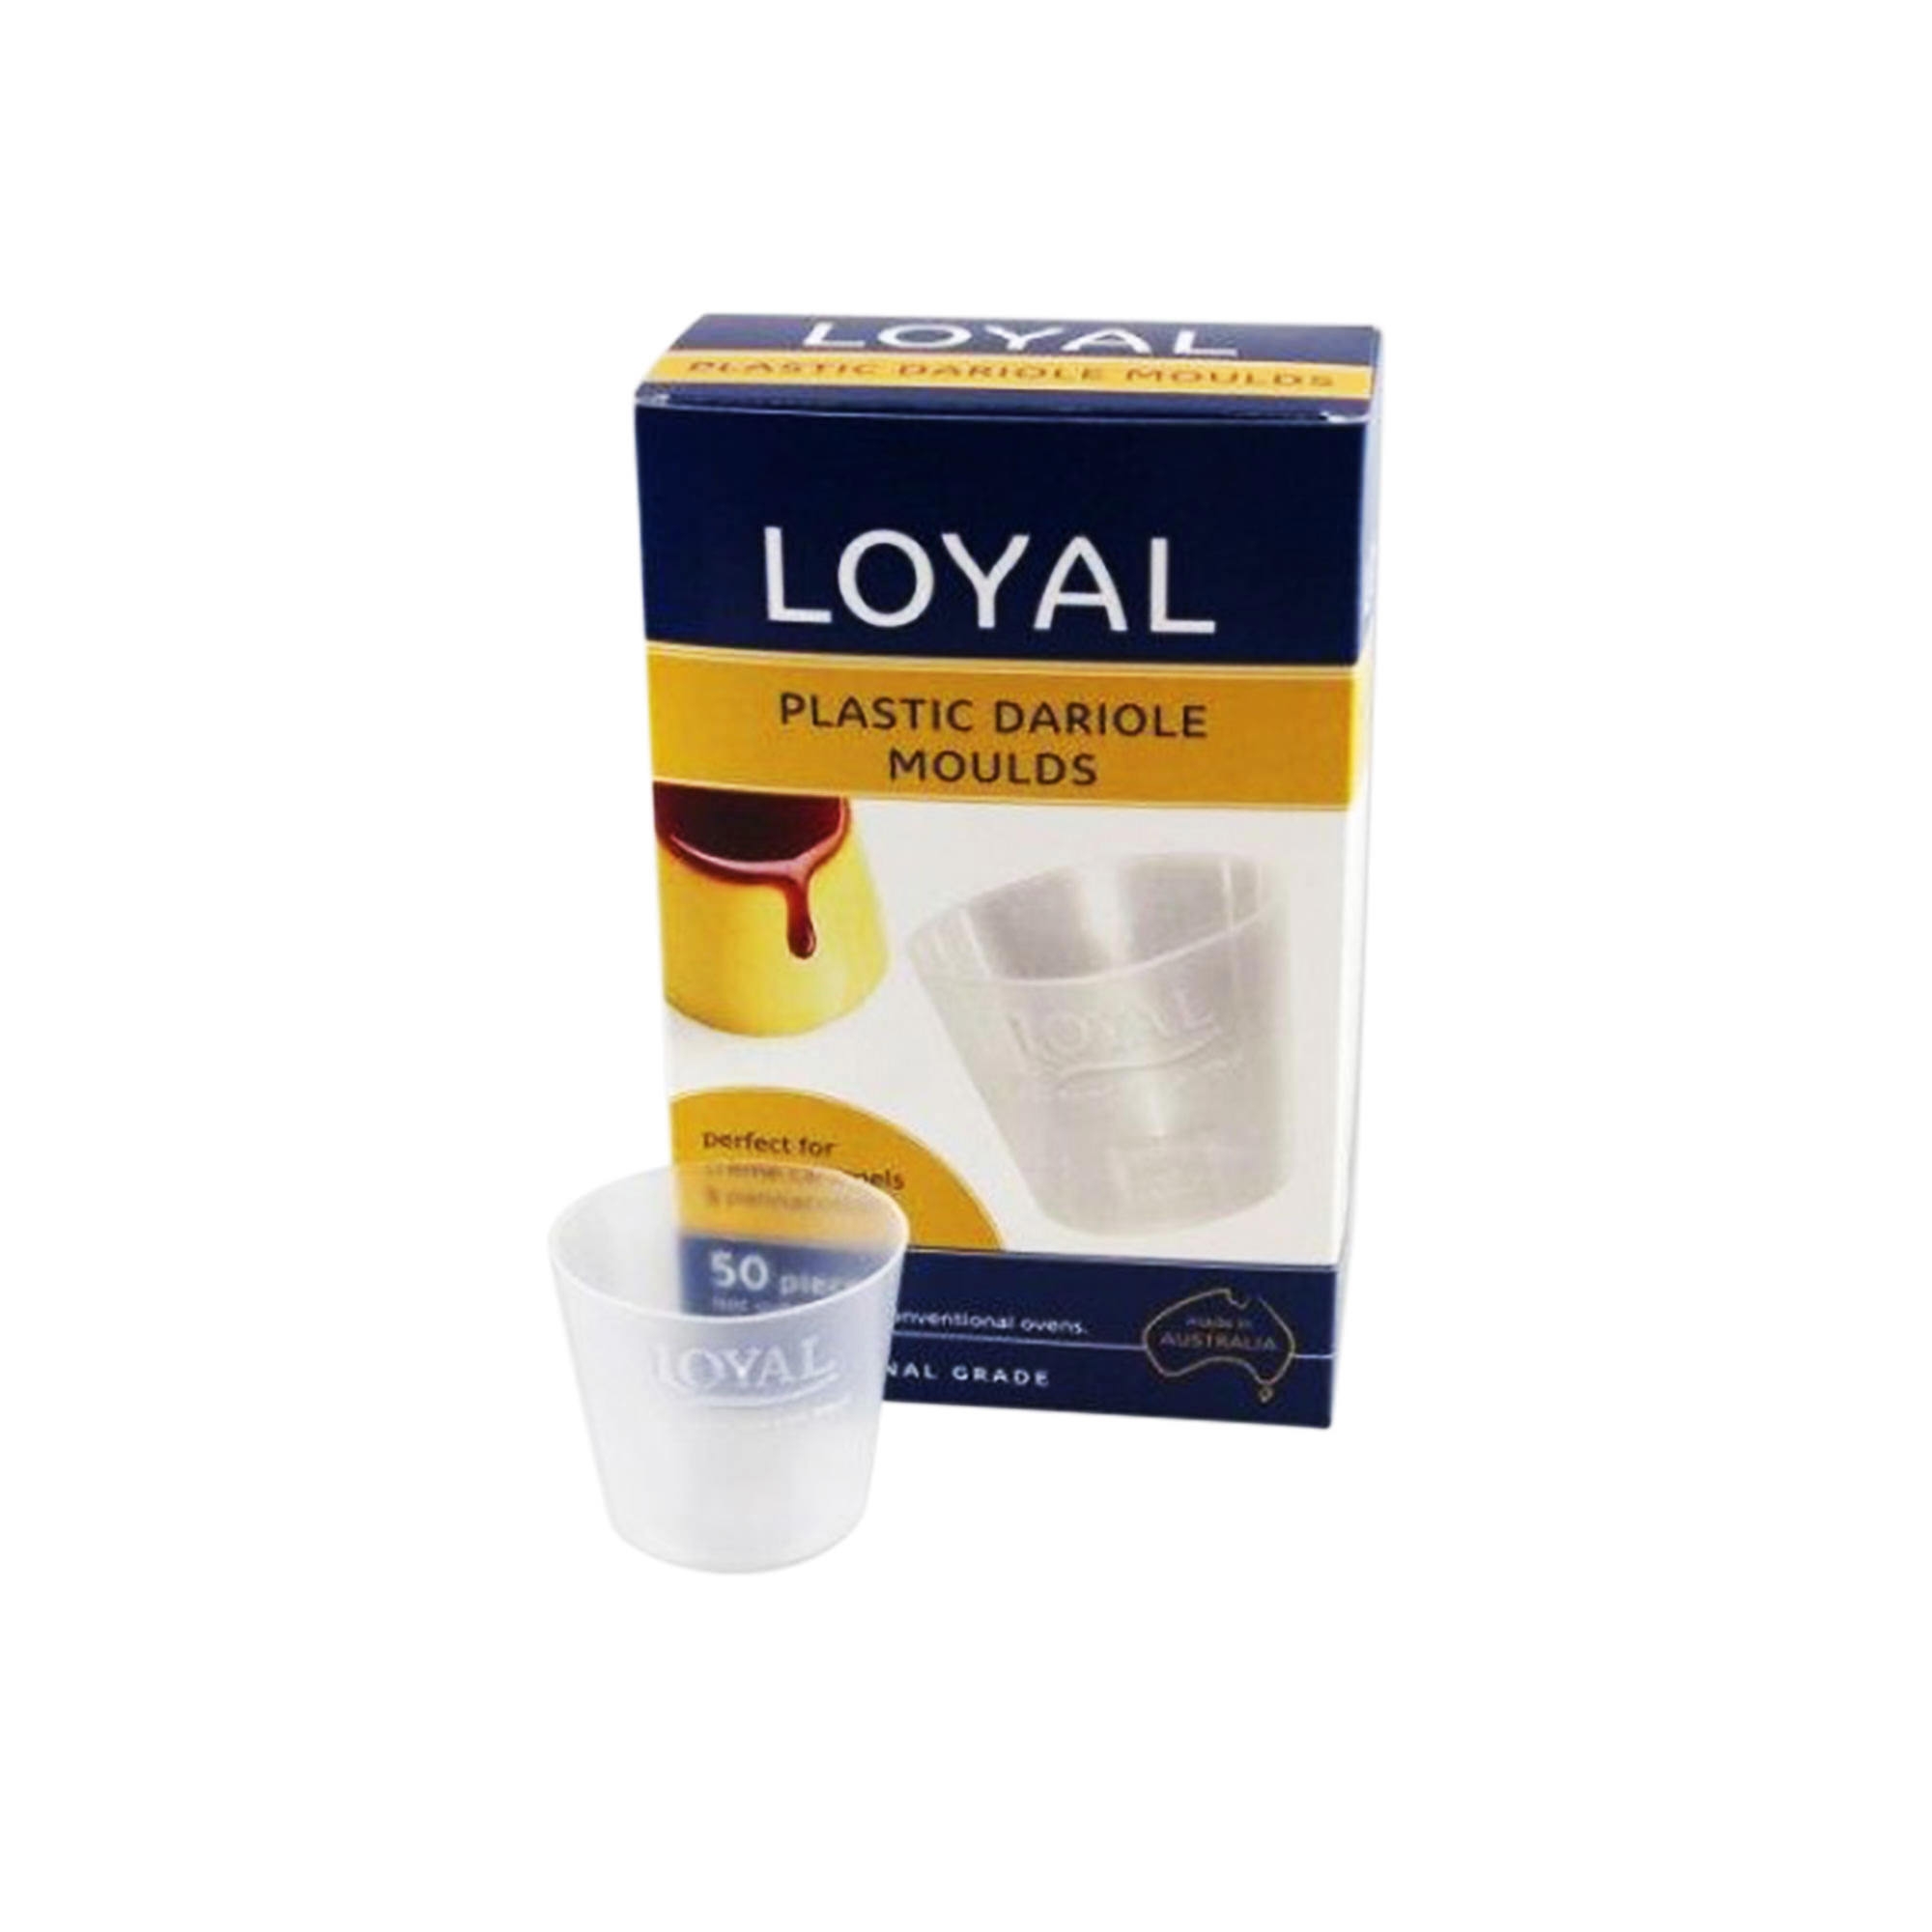
Shop cake decorating
(Save 33%)
(Save 45%)
(Save 45%)

(Save 40%)


Trusted by 2.5 million customers

30 day money back guarantee

Price match promise

Free shipping on orders over $100*


© 2024 Kitchen Warehouse all rights reserved.